Pages

Monday, 24 November 2014

Felting Fun

Happy Felt Heart

I had a lovely time last week working a in a local primary school doing a felt making workshop. I knew one of the teaching assistants from doing craft fairs together and she had kindly recommended me to the teacher who had expressed an interest in doing felt making with Key Stage 1.

Laying out white fleece for the base

Laying out white fleece for the base

Starting to add colour

The class I was working with (Years 1 and 2) were great, they were really enthusiastic and had some great ideas. They also picked up the techniques very well and adapted them to suit their individual designs.

Laying out the designs

This one is a slime trap!

Laying out the designs

It was interesting seeing the varying approaches and range of designs that the class came up with. Some of the pieces were very pictorial with an impressive level of detail, others focused more on colour and combinations of colours whilst others still were clearly more interested in the feel of the material and the process rather than the aesthetics.

Rubbing the pictures to start the felting

Rolling the pictures in bamboo mats

We began by laying out three layers of white fleece as a base, on top of this the children used different coloured fleece to make their designs. I also brought some sparkly fibres for them to work with which were very popular! When all the designs were laid out we covered them with net and added hot soapy water and began to felt them by gently rubbing the pictures with our fingertips through the net. When the pieces had started to felt we rolled them up in bamboo mats and worked in teams to roll them back and forth. The friction caused by the rolling combined with the hot water and soap causes the fibres to mesh together thus creating a solid, strong fabric we know as felt.

Some of the finished felt pictures

Some of the finished felt pictures

Some of the finished felt pictures

Wednesday, 12 November 2014

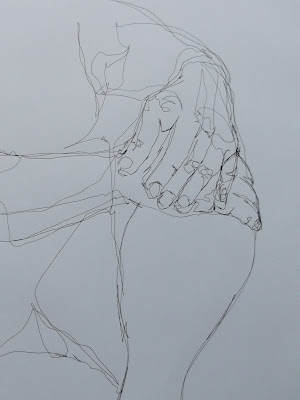
Life Drawing 11.11.14

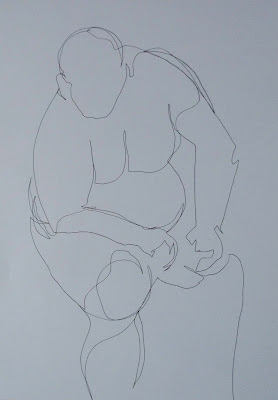
Pen, continuous line

After a few minor hiccups at the start of the session last night ended up being really good. I very much enjoyed my drawing and it was great to have a couple of new faces come and join us. It's very interesting how the dynamic changes when there are more people, there seems to be more energy in the room.
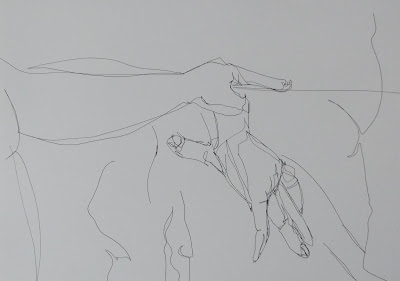
Mixed studies

Pen, continuous line

Pen, continuous line

Our model for the evening gave us some excellent poses and I very much enjoyed making multiple drawings of each pose. I am very lucky with my models, I can just give basic (and sometimes somewhat random) instructions and they are able to come up with really interesting poses. Once again I stuck to just working in pen but I did try and vary the way I worked in other ways.
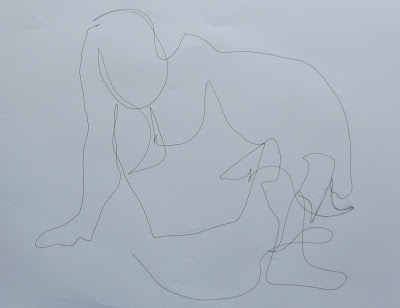
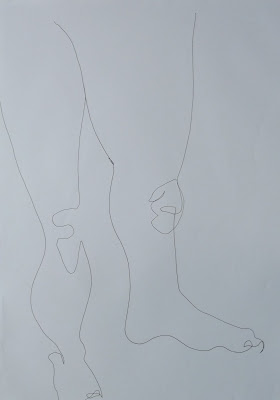
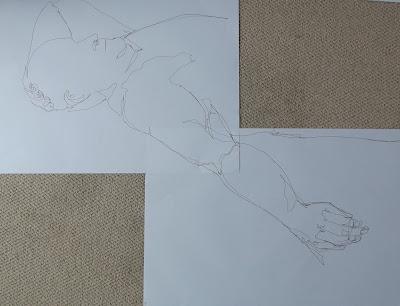
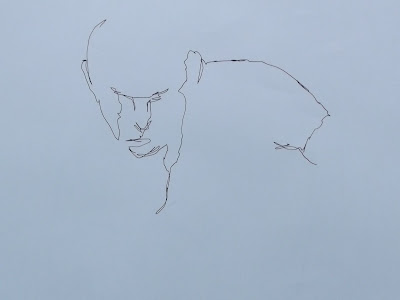
Pen, continuous line. 'Blind' drawing

Pen, continuous line. 'Blind' drawing

I did quite a bit of 'blind' drawing, where I draw without looking at the page. These drawings are very quick and involve very little thought, the results I find quite interesting as although they are rarely, if ever, accurate they do tend to give the feel of the pose and I like trying to pick out later which bit is which!
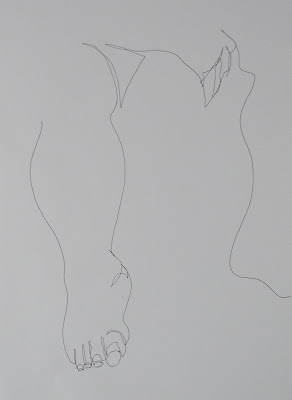
Pen, continuous line

Pen, continuous line

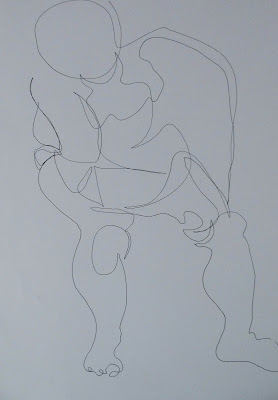
I also looked at working very quickly with simple, single lines to describe either the whole pose or part of the pose. As with the blind drawings they lack accuracy but they do give a feel of the pose. I like the challenge of drawing something solid with just simple lines, using those lines to describe areas of shadow as well as shape to give form to the drawing. I did a couple of drawings where I used these simple lines but experimented with exaggerating the poses slightly, for example working in big loopy curves to accentuate the shapes in the pose.

Pen, continuous line

Pen, continuous line

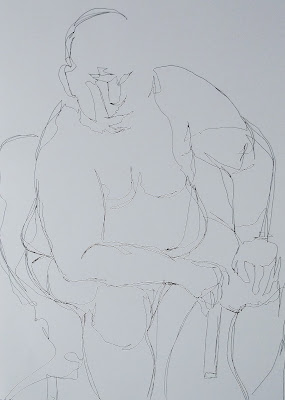
In contrast to these very quick drawings I also tried doing a couple of drawings where I continued to work with simple, continuous line but in a much slower and more deliberate style. In these drawings I tried to capture the pose a bit more accurately whilst retaining the fluidity of my drawing style. I'm really pleased with how these have turned out, I like the sparseness of them.
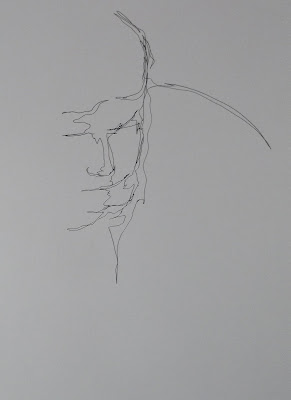
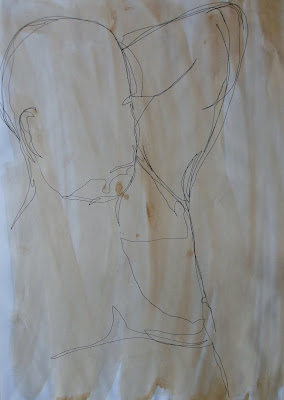
Pen, continuous line

Pen, continuous line

As regular readers will know I love drawing hands and feet but I really struggle with faces so tonight, as I was feeling quite positive and up for a challenge, I had a go at including the face in a couple of my drawings. The results are a bit mixed but I think there's potential there, so long as my models don't mind looking a bit rugged!

Monday, 10 November 2014

It's nice to be appreciated!

Embroidered tree pipit

A couple of weeks ago I had one of those emails that brightens your day and makes you feel all inspired again. It was from a lady who had been bought one of my embroidered bird bags from Folksy a few years ago, a damp flat had sadly ruined the bag but she liked it so much that she got in contact to ask if I could make another.

The original bag

I made a few of these bags (about 5 or 6 I think) but I didn't continue making them as although people liked them they took a lot of time and effort and I couldn't justify selling them at a price that would make it worthwhile for me. However, flattery will get you a lot of places and I was so pleased that my work had meant enough to someone that they would take the time and effort to contact me and request a replacement that I agreed straight away.

The new bag

If you've been following this blog you'll know that I've been struggling with my creative mojo recently so this little project has been great for me. It's given me a nice confidence boost (someone likes my work, can't be all bad) and given me a reason and focus to not only get into the studio but to do something more productive than sort out my threads whilst I'm in there!

Tree Pipit line drawing, pen on paper

I began as I usually do by drawing, just quick line drawings to capture the flighty nature of birds. I did this sketch of  tree pipit and really liked it and decided it would work well so I used my sketch and the photograph I did the drawing from as a basis for the embroidery. I used three shades of purple and free motion embroidery to create this little guy, I like his inquisitive look and I hope that he'll be as loved as his predecessor (and not succumb to damp!)

Detail

I really enjoy free motion embroidery, it is very like drawing and I like the quality of line. I was so inspired by working on this piece that I went straight on to another stitched bird, but more about that in another post...

Wednesday, 5 November 2014

No Borders: Applied Textiles

Making thread wraps to explore colour combinations
I was very pleased and excited to be back with the No Borders art group again this morning. I have worked with them on a number of projects over the past couple of years and I always enjoy our sessions as the group is so positive and enthusiastic, it's really inspiring. I was also really touched as one of the participants said she was really excited I was working with them again as she loved textiles and the work we'd done before. The last project I worked on them with culminated in a hanging sculpture that was shown in Prism Arts Studio as part of C-Art 2014.

Hanging sculpture from last sessions

Detail

For this block of sessions we are looking at applied textiles, the title is deliberately a bit vague so that the group can pretty much do what they want! I took in lots of samples and we discussed our previous work together and what the group would like to do. They decided on individual projects and I was pleased that they all had ideas about what they wanted to do, I'm looking forward to seeing how these ideas develop as the project progresses. We also discussed colour and how it can represent different moods, feelings and ideas.

Looking at samples

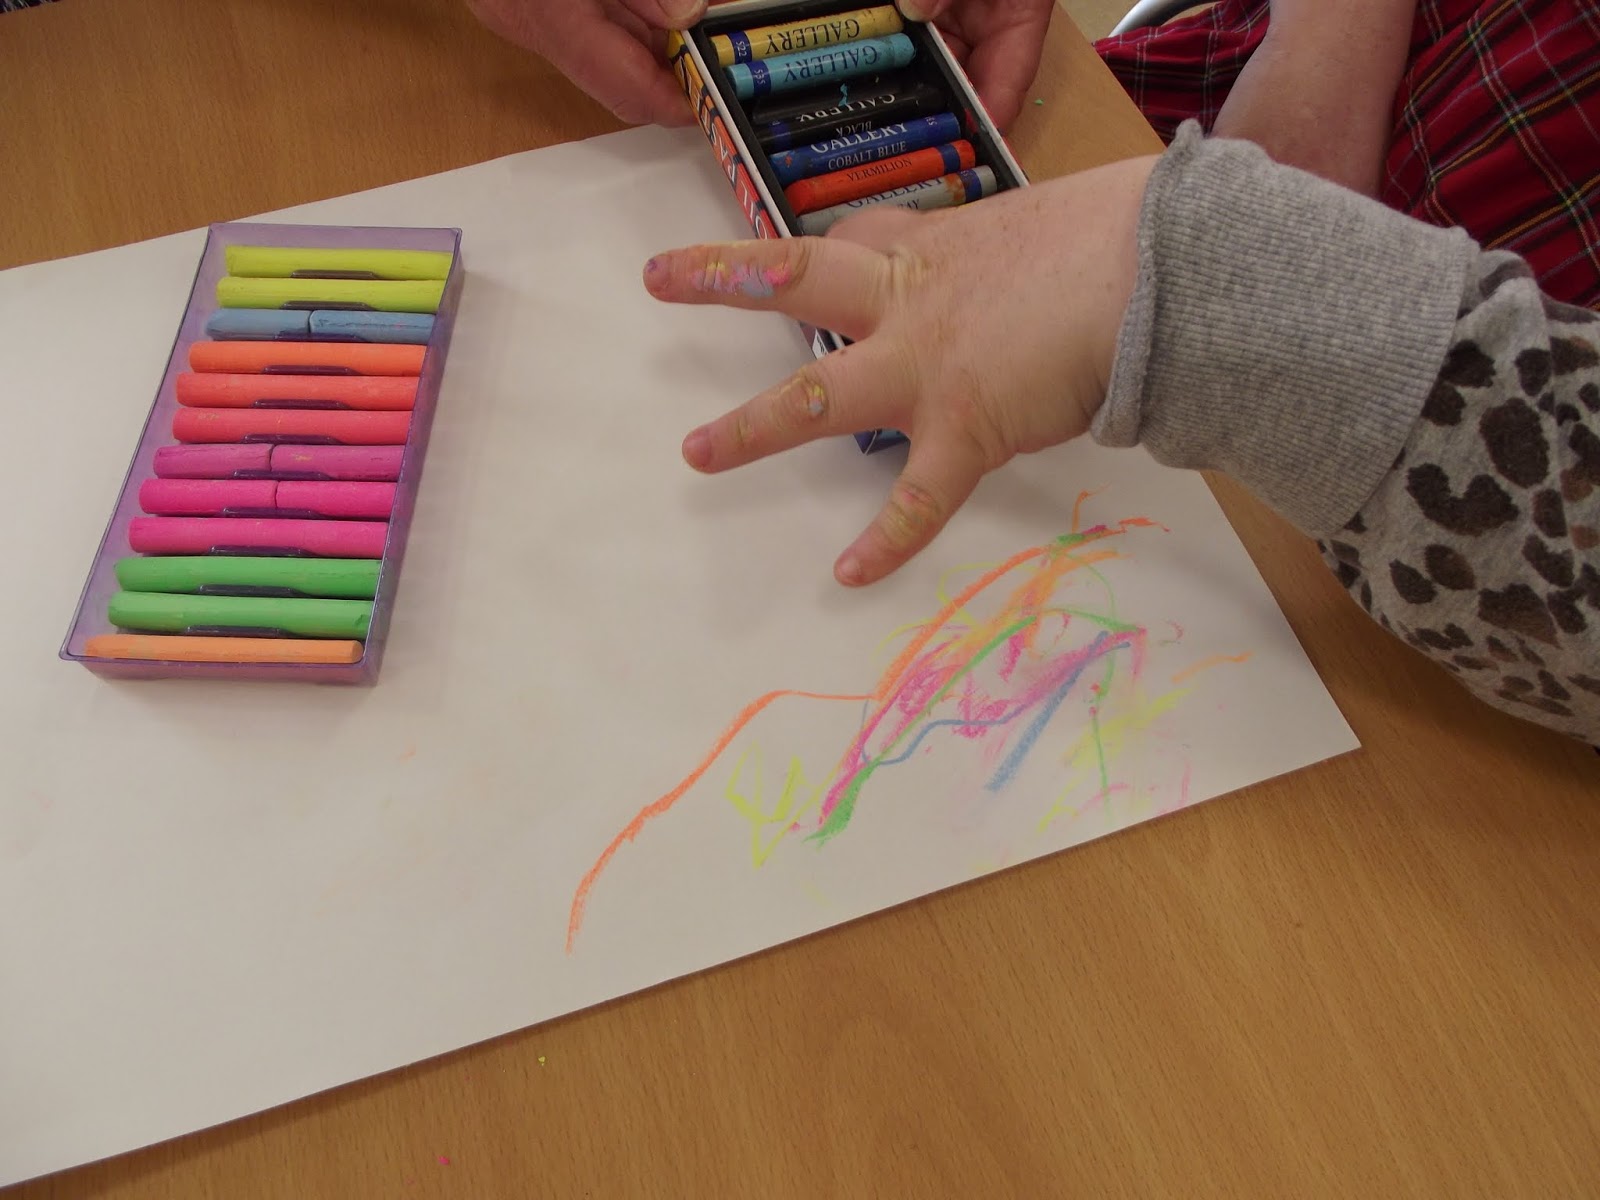
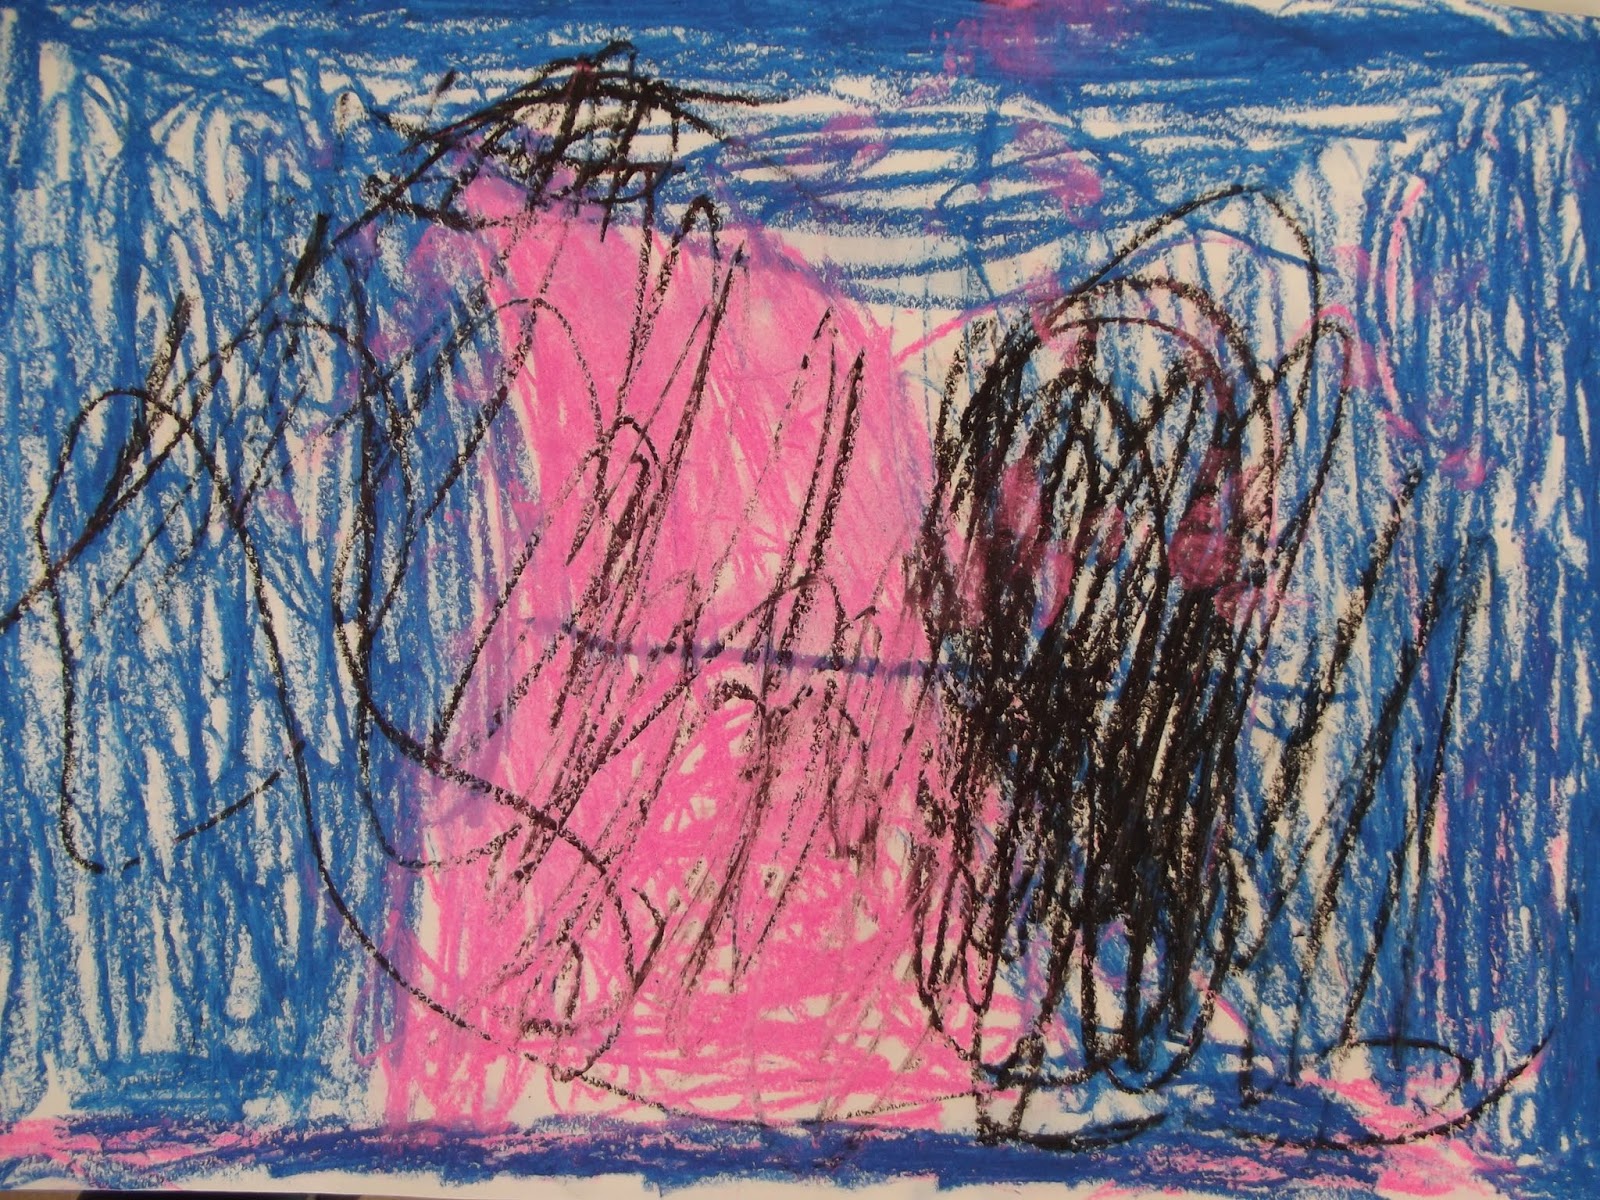
Using pastels to explore colour

Pastel colour page

After our discussion (and a nice cup of tea) we started to look at the colours we would like to work with. I began by asking the participants to experiment with putting together colours that they liked in different proportions and to think about what mood this created. We used pastels so that the colours could be blended and different shades and tones created. As always everyone had a very different approach and it was interesting to see how people's personalities and preferences came out in this activity.


Thread wraps exploring colour combinations

Thread wraps exploring colour combinations

Thread wraps exploring colour combinations

We then moved on to making thread wraps using our pastel colour sheets as a starting point. I really like this activity as it is a different way of playing around with colour and it is a good way to explore how colours work together. It's also quite therapeutic and relaxing which allows us to have discussions about our ideas at the same time. Once again the individual characters shone through in the finished thread wraps, in not just the colour choices but the methods too. I'm really looking forward to next week and seeing how the work takes shape.

Pastel colour pages

Pastel colour pages

Pastel colour pages

Pastel colour pages