|
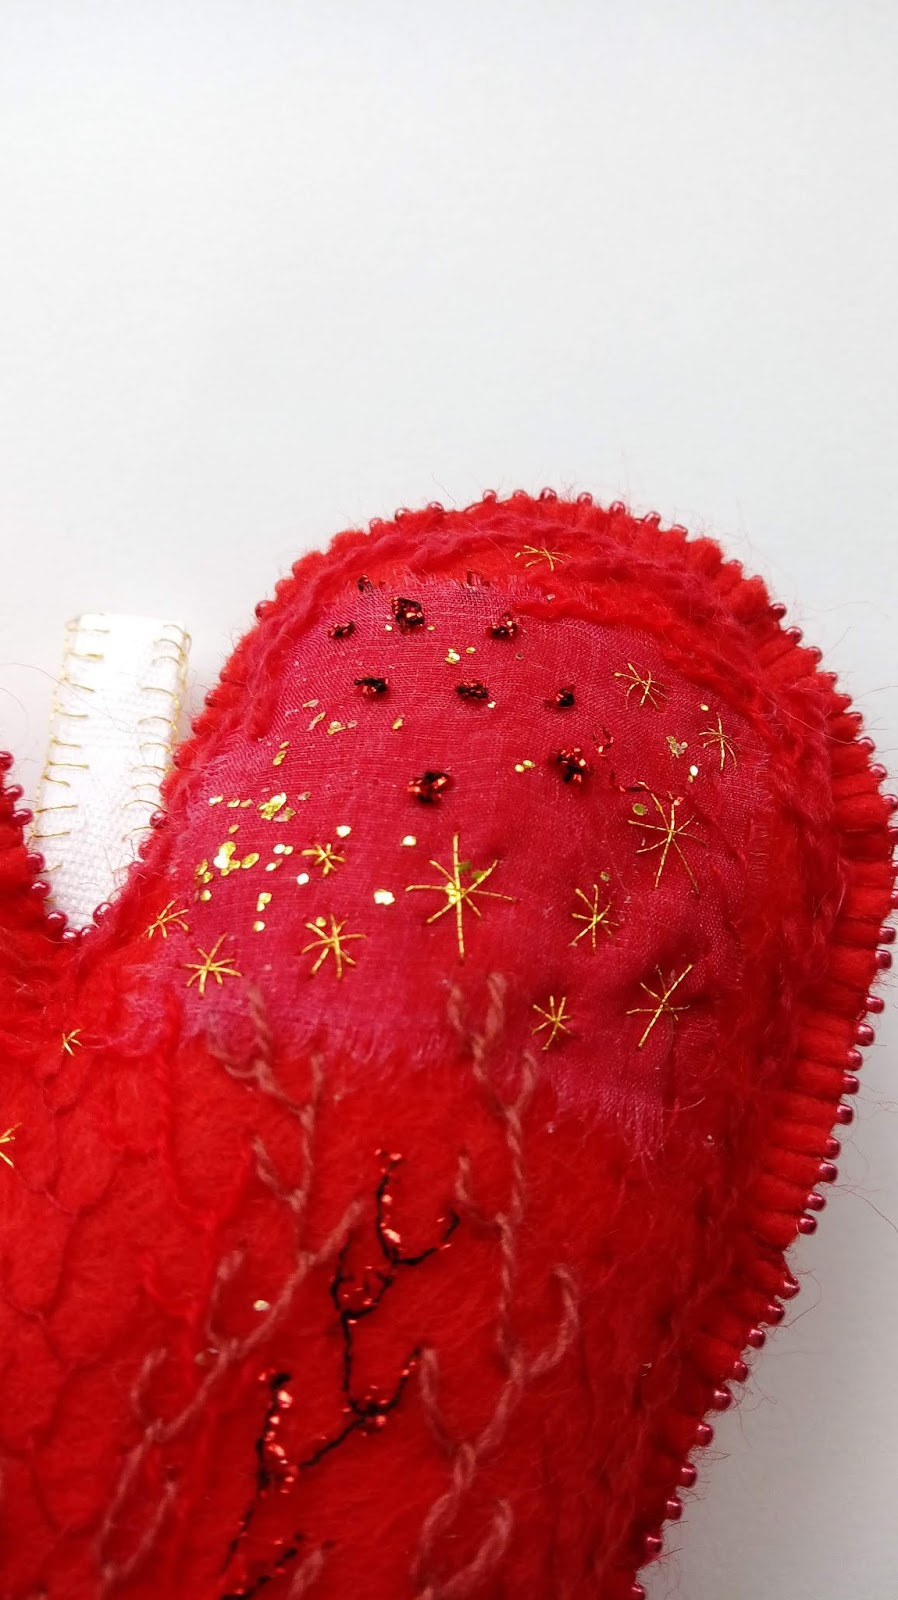
Sacrifice
Felt, hand embroidery, beads and feathers. 2018 |
In a continuation of my series of posts about centenaries, this is a post about another participatory project commemorating the end of the First World War 100 years ago. This project is run by
The Embroiderers Guild and will comprise of a series of exhibitions throughout the UK, each of
100 Hearts created by Guild members. As regular readers know I do like a good participatory project so I signed up earlier in the year to take part.
 |
| Closing up the heart with beaded blanket stitch |
The project has two main aims, firstly to create a body of work for exhibitions commemorating individuals, events and stories from the first world war and secondly to raise the profile of textile art and the Embroiderers Guild. When registering you could chose which size heart to make (15 cm or 30 cm) and what colour (red, dark blue or light blue.) The Guild provided templates and fabric and some guidelines and ideas about how to decorate your heart but the emphasis was on creating something personal and something that showcased the breadth and scope of modern embroidery.
 |
| Pigeon feather detail |
 |
| Hanging loop detail |
As I knew I had a busy year coming up (when don't I?) I decided to go for the smaller size heart and although I would normally choose cool blue colours over reds I decided I would go for a red heart. I've been adding touches of red to my work for a while now to represent blood and life so it seemed like a good opportunity to further explore working with this colour. I sent off my registration form and eagerly awaited the arrival of my fabric.
 |
| Embroidery detail |
 |
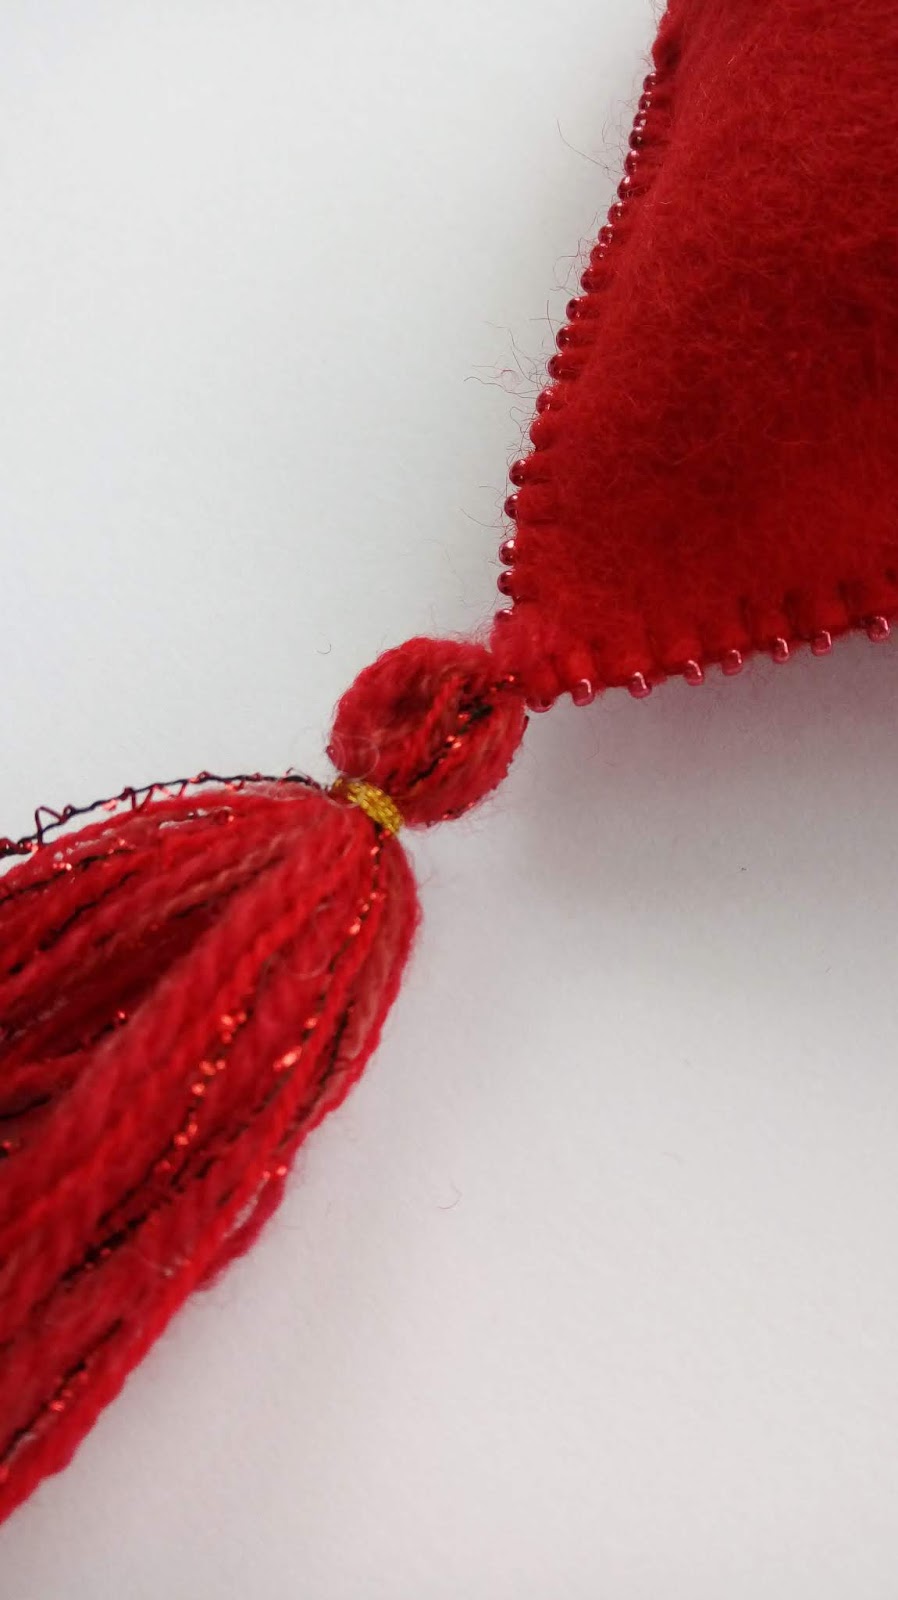
| Tassel detail |
A few other people from Cumberland Embroiderers Guild (my local branch) have also been taking part in this project and at our meetings I was inspired by the work they'd done. Some had chosen to make their hearts for a particular individual from their family and it was lovely to see their stories embroidered onto the felt hearts. I wanted to create something a bit different that would be a more general memorial rather than about one person.
 |
| The back of my heart |
 |
| Back detail |
A couple of years ago
Prism Arts were commissioned by
Cumbria's Museum of Military Life to create a
community quilt to commemorate the 100th anniversary of the Battle of the Somme. For this commission I designed a project that we were able to make in stages, with each participating group creating patches which I then joined together to create a 46 metre long 'roll call' quilt. To engage participants on this project many of the images we pulled together involved animals and I'd personally become particularly fascinated by the story of pigeons in WWI.
 |
| My pigeon patch for the Somme 100 Quilt |
At the
beginning of the war many homing and carrier pigeons were killed and their owners interrogated, as it was suspected they were being used to send messages abroad. Under the Defence of the Realm Act of 1914 you had to have a permit from the police to keep pigeons and the shooting of pigeons was actively encouraged. Later in the war, however, officials realised that these pigeons could in fact be quite useful and homing and carrier pigeons did go on to become an important part of the war effort. By 1916 the Defence of the Realm Act had been amended to make it illegal to shoot pigeons.
 |
| Tassel detail |
I've called my heart 'Sacrifice' and incorporated pigeon feathers into my design as a homage to these birds. I wanted to recognise and remember these smaller lives and the human lives they were connected to. I've used feather stitch in different red threads to create texture and added gold thread embroidery, to represent value and the gold of the sun in the sky. It's been an interesting project to work on, particularly in connection to the other remembrance projects I've been involved in and I'm looking forward to seeing the hearts exhibited.