 |
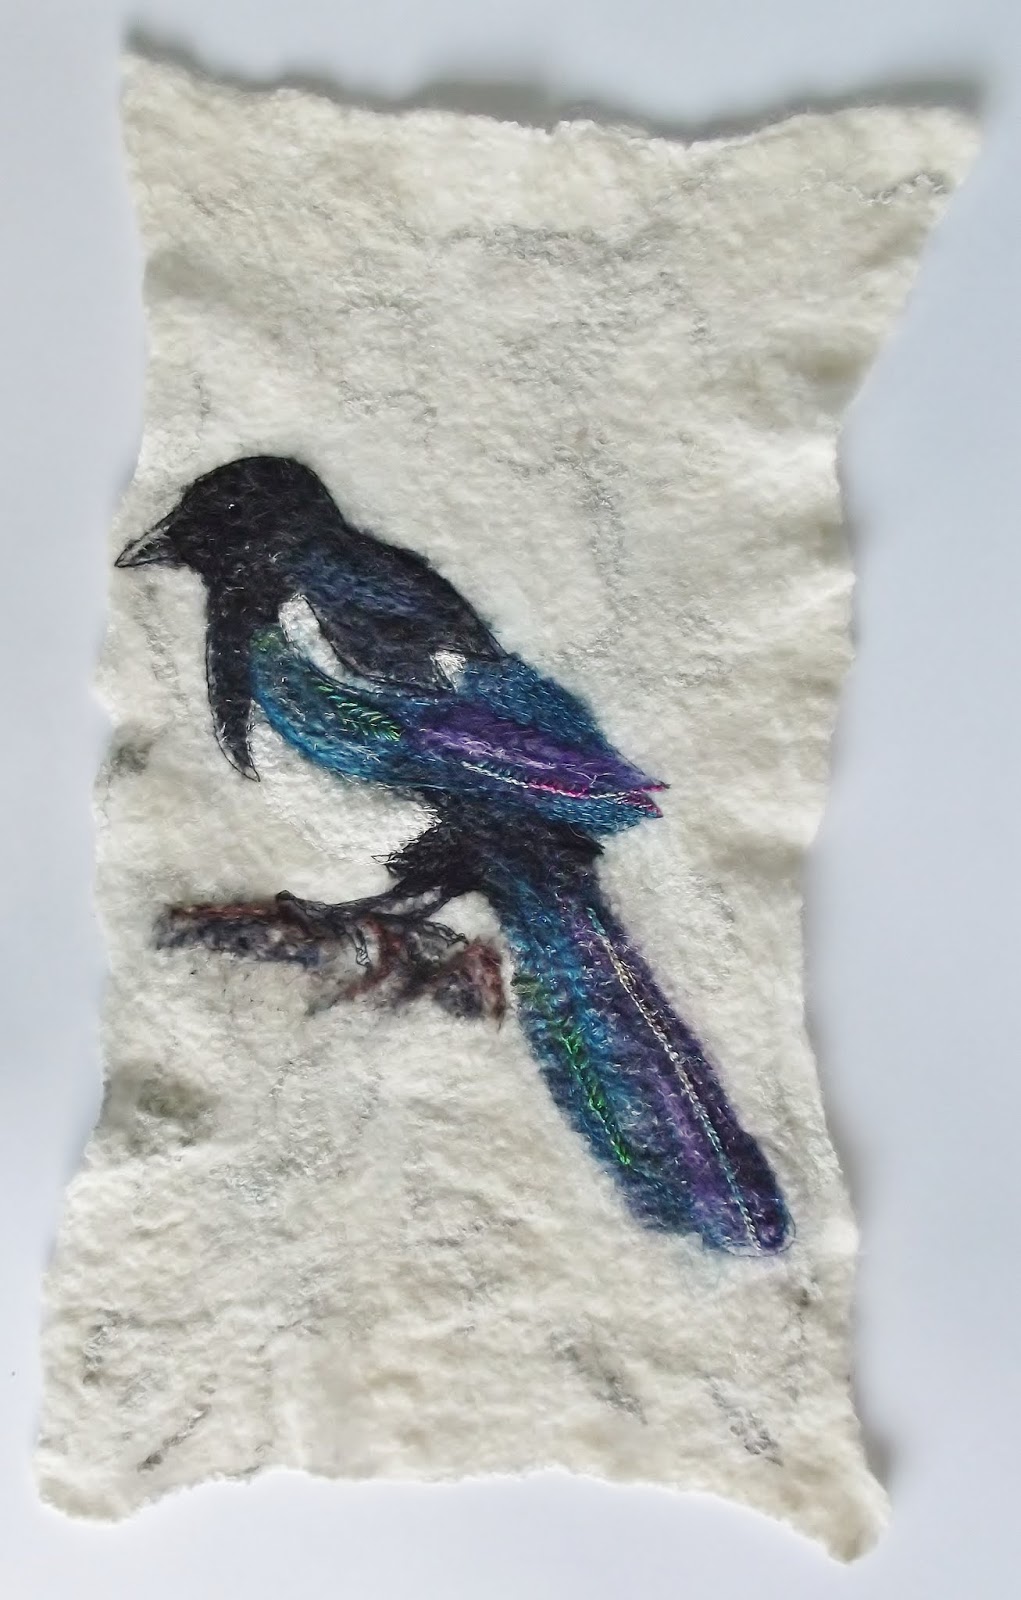
| One for Sorrow. Felt and embroidery, 2014 |
Wow, another week flown by. I seem to have been very busy this week and when I was thinking about it I thought I didn't have much to show for it but when I started looking at my photographs from the week I realised I did have a few things. One of which is another finished magpie piece.
 |
| Ink and paint on paper |
 |
| Felt and embroidery |
I wrote last week about my ongoing magpie obsession and the drawings I had been working on. I also introduced a textile piece with the promise of more information to follow. Being a person of my word here is that information! Based on one of my inky drawings, this piece is nuno felted with machine and hand embroidery and needle felting.
 |
| Laying out the base fibres |
 |
| Starting the magpie |
Nuno felting essentially involves making felt through fabric, most usually fine fabrics are used and the fibres felt through the material. The main qualities of this type of felting are it's strength and lightness; because there is a stable fabric base it is possible to make a fine and lightweight felt (basically using fewer fibres) that is still strong. I used silk chiffon as my base fabric and built up a base of mixed sheep fibres and hand dyed silk fibres. I laid them out very finely in layers of alternating direction so that I would have a stable but still lightweight base for my magpie.
 |
| Building up the image |
 |
| Building up the image |
Having laid out my base and using my drawing as a guide I began to build up my magpie. I used a range of fibres, including merino and bamboo and a lot of silk. I wanted the finished piece to have a luxurious but subtle sheen which is why I used a lot of silk (that and the fact that if I keep buying all these beautiful silk fibres and don't use them our house may explode in a glorious colour filled ball of fluff.)
 |
| Starting to felt |
 |
| The finished felt |
Once all the fibres are laid out the alchemy begins; using nothing but hot water, a little soap and a fair amount of physical effort the pile of fluff is transformed into a fabric. Basically the hot soapy water opens up the scales on the fibres and then the friction caused by rolling it back and forth against a rough surface (such as a bamboo mat) causes the fibres to tangle together, creating felt. As anyone who has hot washed a woollen jumper will know, hot water and friction cause wool to shrink (that's those fibres tangling together) so whilst the original piece was around A2 when laid out after felting it is closer to A3 size.
 |
| My tidy(!) workspace |
 |
| Magpie detail |
When the felt had dried out I was able to start working on developing the magpie. I spent a long time deciding how to work into this piece, playing around with ideas and thinking through the process. I decided to begin by adding some definition with machine embroidery. I used silk thread to match the fibres and to add a subtle sheen to the stitches. The good thing about stitching is that if it all goes horribly wrong or you don't like the effect you can always unpick it.
 |
| Tail detail |
 |
| Wing detail |
Having added machine embroidery I still didn't think the piece was finished but I did not want to completely cover the piece with stitch as I wanted to keep the subtle colour variations in the felt. So, I added a little hand stitch, unpicking and re-stitching until I was satisfied. However, there was still something missing so I began playing around with the fibres again. During the felting process a lot of the silk I'd originally laid down had got hidden under the wool fibres as they tangled together so I needle felted more silk on top. I also partially covered some of the hand stitching to help it blend in. I knew it was finished when I didn't know what to add next.
 |
| Upper wing detail |
 |
| Foot detail |
The name of the piece is taken from the children's nursery rhyme about magpies; one for sorrow two for joy and so on. I rarely give my pieces titles until they are finished even if I have an idea of what to call them as they change and develop throughout the making process and rarely resemble what I had in my head to start with. I had never intended for him to be sorrowful but it's just the way he's turned out.
 |
| Head detail |


