Pages

Showing posts with label dyeing. Show all posts

Friday, 25 August 2017

Feather Banners: Journeys, Connections and Meanings

Flow: Connect 2016
Indigo dyed fabrics and threads, feathers, beads, hand stitch

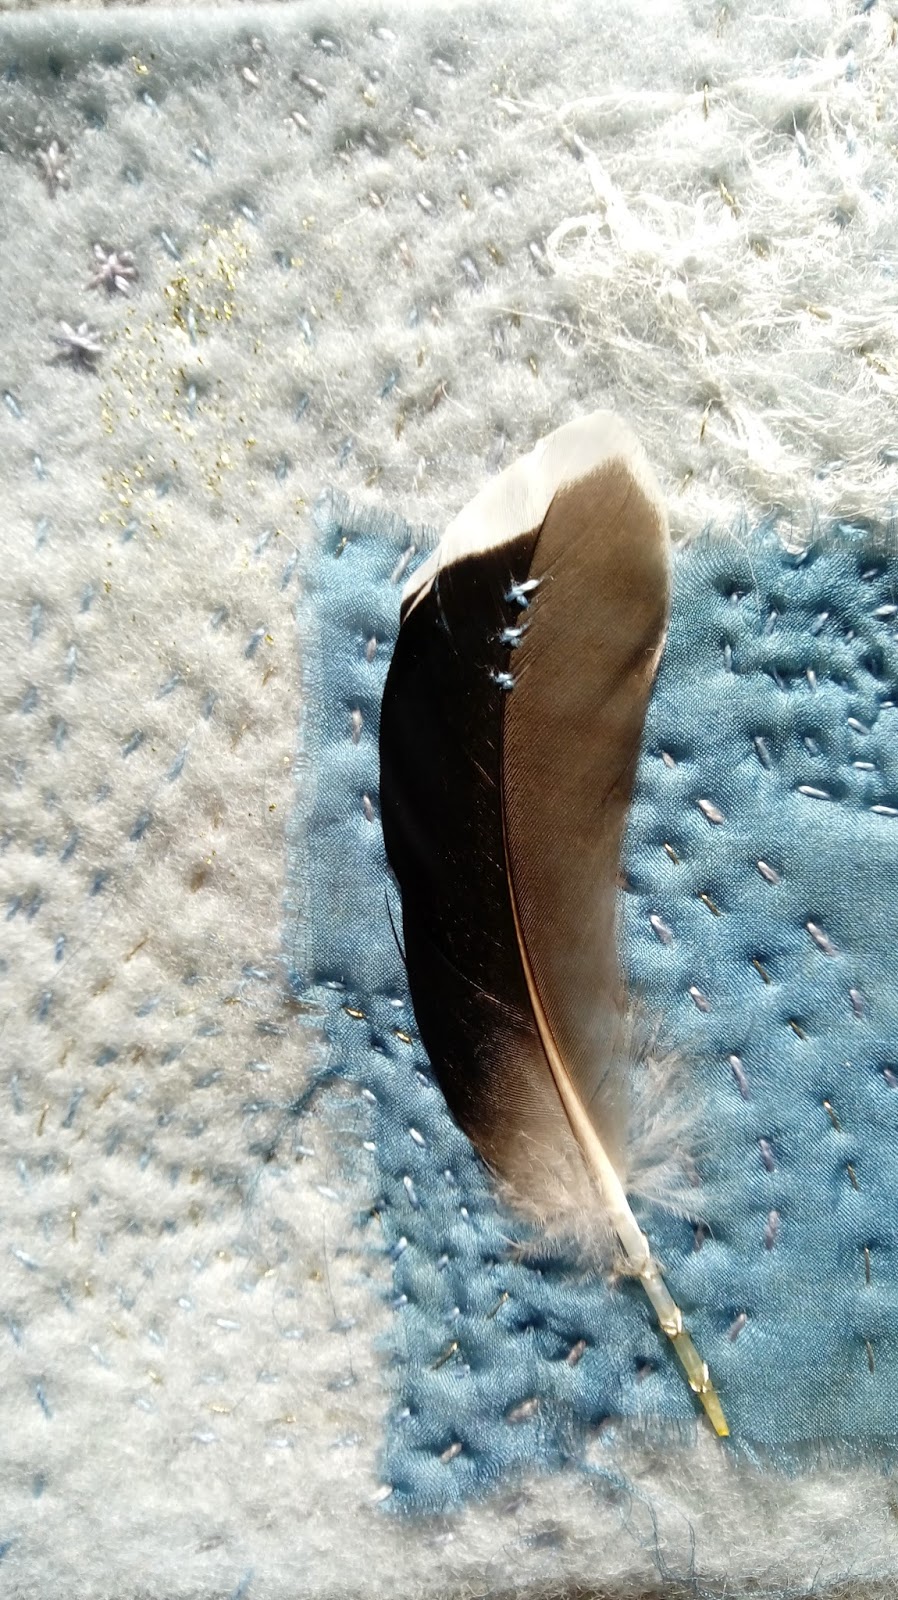
Last year I made a piece of work called 'Flow:Connect' which I exhibited as part of Prism Arts C-Art exhibition and which was also on show as part of 'Random Acts of Art' at Gallery Artemis earlier this year. It's a small textile banner, hand stitched and embellished with beads and feathers. The piece explores the idea of everything being interconnected and a journey. This was an important piece for me as it gave me a new way of working and over the course of this year I've been exploring and developing these ideas and techniques.

Experimenting with layouts

Experimenting with layouts

Starting to stitch

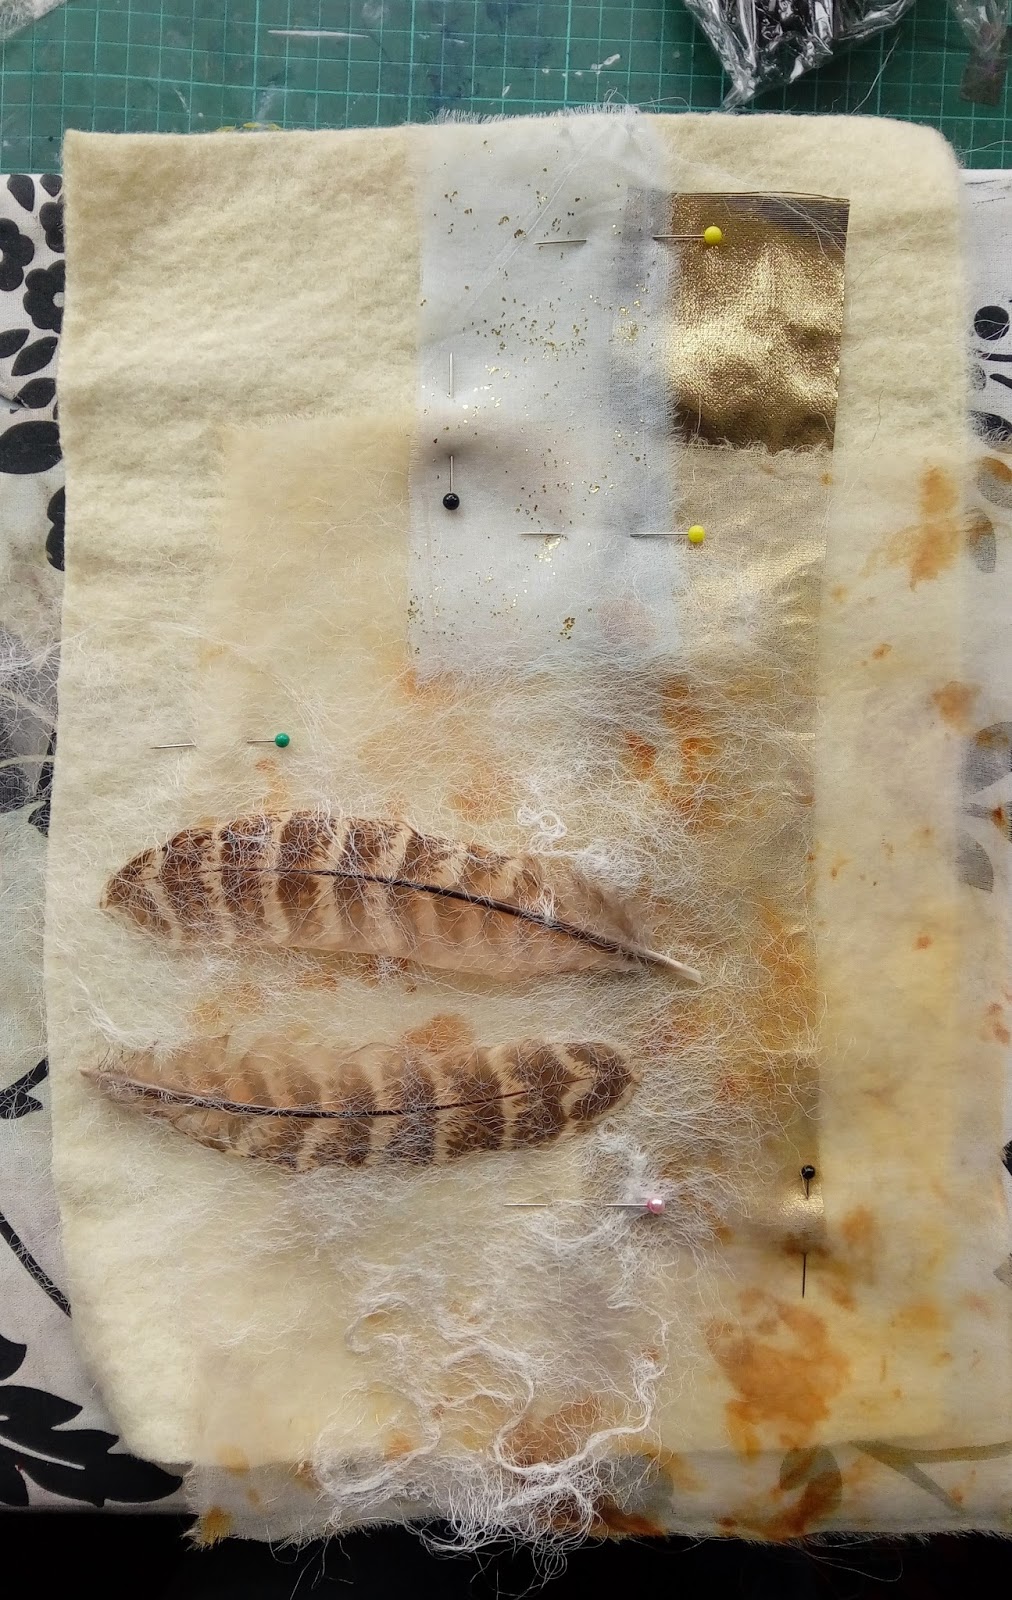
As I wrote in my last post the natural world and our connection to it has been increasingly important in my work and in my life generally and it's something I've been thinking about a lot and exploring in these pieces. I've been doing a lot of natural dyeing and I've started incorporating these fabrics into my work, adding another layer of connection. The colours achieved by using natural dyes rather than synthetic dyes are much more subtle and variable and I like the slightly unpredictable nature of using natural materials.

Work in progress (on the train!)

Tea and threads

Work in progress

All of the banner pieces incorporate feathers, most of which I have collected (another connection to the journeys I make.) As my work is developing I'm also developing my own set of meanings for the materials I use. Feathers are signifies for birds which in turn represent us or more specifically our spiritual selves and our desire to transcend and move up to the 'next level.' Throughout human history people have tried to find out what (if anything) lies beyond our physical world and still today we are always pushing the boundaries and trying to find out more. Birds have often been used to represent the soul, their ability to fly connecting them to the sky and the heavens (in many religions, cultures and philosophies the 'next level' is above us in the skies.) I'm fascinated by this idea and our desire to move upwards and I'm intrigued by the idea of a spiritual self; this is one of the things I am exploring in these feather banners.

Of the Earth 2017
Naturally dyed fabrics, feathers, hand stitch, twig

I've shied away from writing about this element of my work before as I've worried that by talking about the spiritual I will put people off. However, I have decided to have the courage of my convictions and one of the great things about art is that it doesn't matter if it means different things to different people; it's not important that other people see (or don't see) the meanings as I do.

Fly to the Sky (Dusk) 2017
Naturally dyed fabrics and threads, silk paper, feathers, hand stitch

Fly to the Sky (Dusk)
Detail

Fly to the Sky (Dusk)
Detail

The different elements of the banners are held together with hand stitch, mostly running, feather, fly and cross stitch. The stitched lines represent the lines of our journeys, both physical and spiritual, and join up all the different layers, connecting the whole piece together. Because they are hand stitched it's very time consuming to make these banners but that's also one of the things I like about them. Working on them forces me to slow down and gives me time to contemplate what they mean to me and what they might mean to others.

Work in progress

Work in progress

Work in progress

I will be exhibiting my work at Farfield Mill later this year along with artist Daniel Cooper and I'm hoping that these banners will form a significant element of my part of the exhibition. Details to follow!

Ready to Fly 2017
Indigo dyed fabrics and threads, feathers, beads, hand stitch

Ready to Fly (detail)


Thursday, 8 June 2017

Sunny Day Dyeing

Solar Dye Jars with flowers from the garden

In my recent post about natural dyeing I mentioned solar dyeing. This is a really simple and easy technique with highly variable results. Essentially it involves filling a jar with fabric and dye stuffs and leaving it in the sun for a month or more.

My first jar

The rusted iron I added turned the water inky black

I tend to take a very unscientific approach to dyeing generally and solar dyeing lends itself well to this way of thinking as living in Cumbria the solar element is highly variable. I really like the unpredictable element of natural dyeing, I've had mixed results from my solar dye jars but as it's such little effort if I'm not happy with the results I can just stick it in another jar with a different set of leaves or flowers and try again. One of the main attractions is the funny marks and leaf traces that are left on the fabric.

Unwrapping my first solar dye jar

Beautiful patterns on the fabric

I've mostly been using cotton fabrics and silk organza for my experiments as these are the fabrics I use most in my work. The silk takes the colour much more readily than the cotton, even when a mordant is used, so I think my future experiments may involve using different types of silk fabric.

Sorrel leaves sandwiched between cotton and silk

In the jar with more sorrel. The fabric ended up a mink brown colour, much stronger on the silk than the cotton

A selection of jars at different stages

Some of the most successful pieces have been the ones where I've added bits of metal to act as mordants. When iron is used it alters the colour quite dramatically, creating rust tones (not surprisingly) and also lovely grey tones and turning the water an inky black colour. I have a rusty hammer head that I found in the garden that is my favourite thing to add into my jars, it's quite well rusted so gives lovely black tones rather than oranges.

Iron and geranium on silk (left) and cotton (right)

Iron and geranium on silk (left) and cotton (right)

Dock leaves on silk (left) and cotton (right)

I've been using a range of different plant materials to dye with, I love walking round my garden, picking leaves, flowers and twigs and wrapping them in fabric. I should really document what goes into each jar but it's much more fun just leaving it and being surprised by the results!

Sunday, 19 June 2016

Marx, craft on the BBC, mental health and Eco-dyeing

Eco Dyed fabric notebook

Last night I watched a couple of interesting things on iplayer, a documentary about Karl Marx and a show called Make!Craft Britain. Now I appreciate that at first the two may not seem obvious companions but one of Marx's observations and concerns was that the workforce was being exploited and people were unable to have any creative input or expression. Marx believed that all humans are innately creative and to lead happy, productive lives and to create an ideal society we all need to be able to express our creativity and be productive. Interestingly, many of the comments from participants from the craft programme (which followed two groups of people participating in a textile workshop or a paper cutting workshop) focused around how taking time to work on a craft increased their sense of well being and happiness, that taking time to produce something "feeds the soul."

Daily drawing

Daily drawing

Daily drawing

Those of you who read my ramblings on a regular basis or have to endure them in real life will know that I have been banging on along these lines for some time, I believe that we are creative beings and we all need to have a creative outlet. It doesn't have to be a craft as such, just something that allows you to express yourselves and involves some form of physical involvement. I know that personally I need to be doing creative things to be happy, for me those things are mostly based around drawing and pretty much anything textile related. My mental health and my creativity are very closely linked, a lot of my self image and therefore confidence is tied into my work and the things I create.

Fabric notebook with stitching

Fabric notebook with stitching

Fabric notebook with stitching and feather

Despite being aware of my need to be creative and despite a good proportion of my time being spent doing creative things I am prone to periods of artists block and general despondency. During these times I feel uninspired, I lose all confidence in my work and my abilities and am generally pretty grumpy. Over time I have learnt that there are ways to help shift the block and move forward to create better work and to be a happier person. One of the most successful strategies is to just make something, quite possibly completely unrelated to whatever I'm working on at the time. Taking the time and energy just to create is often enough to give me a kick start and get me back on track.

Gathering materials in the garden

Placing plants between the pages

Placing plants between the pages

The more astute amongst you will have gathered from the thrust of this post that I have been going through one of these 'block' periods recently, wanting to work but not being sure what to do and lacking faith in my work and myself. So, I decided to follow my own advice and just do something. There was a project in a magazine (Workbox) that had caught my eye so I got the magazine out, gathered my supplies and followed the instructions (more or less) to create my own eco-dyed fabric notebook. The project was from Alice Fox and as I'm really interested in natural dyeing and eco printing I very much wanted to try it out.

All bundled up

In the steamer

Colours developing

I really enjoyed working on this mini project, it combined many of the things that I love and that excite me about art and making; ideas, experimentation, a bit of science, technical skill, subtle colours and just having a go. Because I was using this as a kick starter I wasn't at all precious about it and didn't over think it. I just made it, following a process that involved doing things I like.

Eco-dyed pages

Eco-dyed pages

Eco-dyed pages

My base fabric was an old linen tablecloth I'd bought along with some more interesting things on ebay a few years ago (tick number one: using stash fabric.) I cut it into 'pages' which I then stitched into in various ways (tick number two and three: not measuring and stitching.) I used all natural fibres so that the natural dyes would be able to colour the fibres. Having made my book I then headed into the garden and collected flowers and leaves that I liked the colours of (tick number four: being in my garden.) My garden is in its infancy and I haven't yet had time to plant many dye plants so it was a good chance to see what colours different non typical dye plants would give (tick number five: experimenting.) I sandwiched the plants between the pages with a few bits of rusty metal (iron can be used as a mordant in natural dyeing as well as being a dyestuff itself, tick number six: chemistry.) I then clamped the whole thing together with bulldog clips.

Eco-dyed pages

Eco-dyed pages

Next step was to head into the kitchen (not my natural habitat) and steam my 'package.' I left it to steam for about an hour and was a bit disappointed that not a lot appeared to have happened. However, I followed the instructions and didn't immediately open up the package, leaving it to dry out a bit overnight. To my delight when I came down the following morning I could see that colours had developed (tick number seven: patience rewarded.)

Eco-dyed pages

Eco-dyed pages

I managed to leave it until later in the afternoon before I could contain my curiosity no longer and I unwrapped the parcel to reveal some beautiful colours (tick number eight: it worked!) The pansy flowers I'd used had left some beautiful, subtle purples and lilacs and throughout my little notebook I found interesting patches of colour. I'm really pleased with my little experiment and it has not only got me doing something but has given me some ideas and inspiration for what to try next (tick number nine: block begins to lift.) Sometimes, of course, it is not as easy to get oneself going and back on the up but sometimes a simple kick start is what's needed to push forward and continue down a creative path.



Monday, 27 July 2015

Beautiful Blues: Indigo Dyeing

Indigo dyed fibres

Indigo dyed fibres

On a not totally horrible Sunday I decided to have a go at indigo dyeing. I've always been interested in natural dyeing and over the past years have collected a number of recipes and possibly one or two supplies! I have played around a little bit with natural dyeing and I really like the unpredictable nature of it. The idea of being able to create colour from something I've grown also appeals and as we are in the process of doing up the garden this will hopefully soon become a reality.

Stitch-resist

Fibres and materials

Fibres 

Wetting the fibres before dyeing

I set aside the whole day which turned out to be a good move, although it's not difficult it is helpful to have time to work through the different stages of the process. I like dyeing as it's a mixture of science and art. It involves basic chemistry and the results are always exciting to me. I have a fairly loose approach to following the 'rules' for dyeing. I prefer to follow the basic guidelines and embrace the quirks that emerge from making errors.

Mixing the indigo dye

Indigo solution

That said, I was a little more careful with the indigo dyeing as it is important not to introduce oxygen into the dye-bath as this is what 'fixes' the dye, which I obviously don't want to happen until the dye is attached to the fibres I'm dyeing. I'd prepared a range of fibres including wool, silk, cotton and linen so I could see how each fibre reacted. I'd also prepared a couple of bits of fabric with a stitches resist to see what effects that would yield.

Hi tech insulated dye-bath

Making sure the temperature was right

Keeping the temperature right

Having mixed up the dye-bath and prepared all my fibres I got to the exciting bit, dyeing! It really was exciting lifting the fibres out of the yellowy green murk of the dye-bath and watching as they turned from bright acid green to beautiful blue indigo in a matter of moments. As the dye oxidises and fixes in the air amazing marbled patterns are created on the fabric as the air hits different parts of the fabric at different times. I didn't have either of my cameras with me (one I'd left at the prism studio and Mr. Stitches was borrowing the other one on a trip out) so I was only able to capture a few shots on my 'phone's fairly rubbish camera. However, it gives an idea of what happens (and gives me an excuse to do it all again!)

The dye-bath, when ready, goes a yellowy green colour

Fibres in the dye-bath

Fibres ready for dyeing

Indigo dyeing is a little different to most other dye processes. For one thing no mordants are required as the dye is fixed by being exposed to the air. Usually when dyeing to obtain darker or more intense shades you leave the fibres in the dye-bath for a longer period of time but in indigo dyeing darker shades are achieved by repeating the dipping process. So, for a darker indigo you just dye it more times. The fibres spend about 2 minutes in the dye-bath each dip. I had fun experimenting with dipping the fabrics repeatedly to achieve a range of shades from palest blue to much darker hues.

Amazing colours as the fibres come out the dye-bath

Amazing colours as the fibres come out the dye-bath

Amazing colours as the fibres come out the dye-bath

Amazing colours as the fibres come out the dye-bath

One of my favourite parts of the process was hanging all my dyed fibres on a line and watching them flap about in the wind. The different shades of blue against the green of the hedge and the grey of the sky looked so beautiful, almost an artwork in themselves. I'm really pleased with my dyes fibres and am looking forward to using them in my work. I'm also looking forward to some more experiments in natural dyeing...


Flying in the wind

Fibres on the line

Fibres on the line

Fibres on the line
Cotton, stitched cotton and wool

Silks, dipped multiple times to create different shades

Silk and linen