Pages

Sunday, 2 August 2015

Giant Fishes: St. Bede's Puppet Workshops

Giant Fish!

Back at the end of June/start of July I worked at St. Bede's Primary School (where I'd been working on the Seven Stories Project) with Year 5 making some puppets for this years Puppet Parade which is part of Carlisle's Pageant celebrations. As we did last year Prism Arts are running a summer school as well as working with schools to create puppets for the parade.

Fish head designs

Fish head designs

Fish head designs

The theme this year is the Jacobites (and more specifically the second Jacobite rebellion) so we've been looking at Jacobean embroideries and carvings for inspiration. Carlisle has a strong connection to the Jacobites and Bonny Prince Charlie so there is lots to inspire us in and around the city.

Building up the features with newspaper

Building up the features with newspaper

Building up the features with newspaper


Jacobean embroideries are characterised by large, stylised natural motifs, in particular floral motifs but birds and animals also feature. For the school workshops we chose to make fish because the shape means even with limited time and experience we can create puppets with big impact for the pageant.

Paper mache!

Paper mache!

Paper mache!

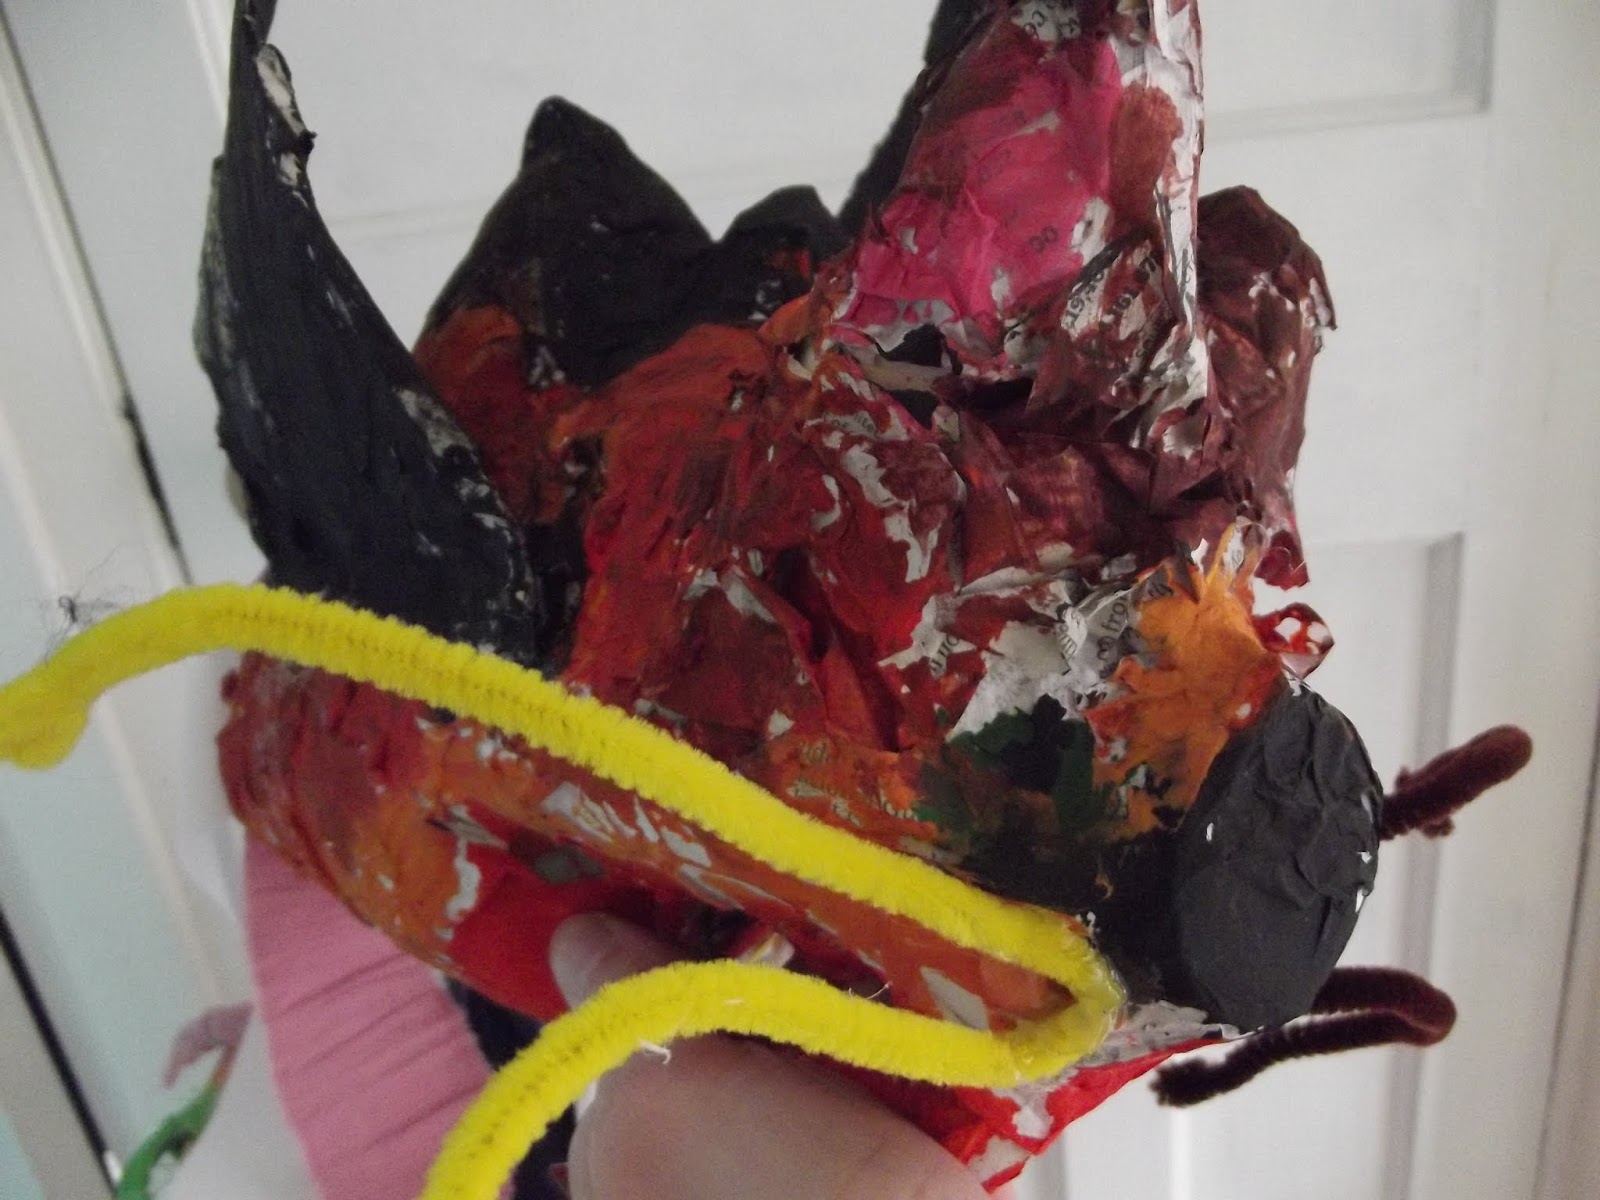
The fish puppets are created from large milk bottles which we covered with paper-mache and painted and the bodies are made from embroidery hoops joined together with strips of fabric. This gives them an articulated body which can be used to great effect when parading.

Fish heads on the windowsill
Drying out

It was really interesting working with a different class, having worked with Year 4 for so long I'd got to know them well and had a good idea how they would respond to different activities. Working with Year 5 was quite different, the class as a whole were less confident with creative activities and some of the things I thought they would find easy they really struggled with. For example, tearing the strips of fabric to make the fish bodies seemed to present them with quite a lot of difficulties.

Joining the rings together for the body

Choosing and cutting fabric

Cutting strips

I started the workshops off by asking the students to design their fish heads, the class already had sketchbooks so I got them to work in these. Some of the students got stuck in straight away whilst others really struggled and were very worried about getting it wrong, despite my reassurances that these were just ideas and didn't need to be master pieces. With a bit of encouragement they came up with some great ideas and designs. Then came the first major challenge...

Colour designs

Painting

Painting

The class was split up into groups of three to make their fish and the next part of the process was to amalgamate their designs into one. Some of the groups worked really well, taking a bit from each child's design and coming up with a design that used all their ideas. For other groups this was really difficult, with some students finding it difficult to let go of their ideas and accept other peoples. During the two days I was with this class I did a lot of mediating!

Building up the bodies

Ripping fabric

Working on the bodies

Once the designs were agreed (more or less) we used newspaper and masking tape to build up the shapes of the fish heads. Again, some of the students worked really well and created some great structures while others struggled with working in 3D. Once we'd built up the heads we covered them in paper mache. Again, team working was a bit of an issue for some of the children and I had to rescue some of the paper sculpting they'd done as they kept pulling it apart all trying to do something different at once! However, by the end of the morning we had seven fish heads all covered with paper mache.

Finished Fish

Finished Fish

We then moved on to making the bodies. I had thought that this would be the easier bit but again some of the children found it difficult to compromise and respect others choices and they also struggled with the practical side. We used the tables as a measure for how long the strips should be but still ended up with quite a variety of lengths! In contrast, some of the groups worked really well, organising themselves so that one person selected fabric, another cut it and the third person tied it to the rings. By the end of the first day all the fish had partial bodies and I was ready for a cup of tea!
Cat Fish

Cat Fish

Finished Fish

The second session was much easier, partly I think because the students knew what to expect a bit more and partly because they could see how it was all going to work. We began by working in sketchbooks again, this time looking at colours for the fish heads, before moving onto painting the now dry and tough fish heads. Most of the groups came up with really imaginative and quirky designs. Despite my best efforts a minion did make it through the net, so to speak, but it was better than them doing nothing!

Finished Fish

Shane the Rainbow Shark

Finished Fish (check out his eyebrows!)

There were similar team work issues to the first week but with a bit of perseverance these were overcome. Once the heads were dry we worked on finishing the bodies. I then took the heads and bodies home and attached them together.

Minion Fish

Despite it's challenges this was a good project to work on. I think that working together is really important so although they may not have liked it much I think it was good for the students and the sense of satisfaction when they saw the finished pieces I hope made up for the stresses. Most of them also enjoyed the chance to experiment a bit and get messy and many of them were really keen to come down and join the pageant so hopefully I'll see a lot of them on the 22nd for the parade.

All the fish on my bed!

Thursday, 30 July 2015

Sunshine by The Heathlands Project

Sunshine, 2015 by The Heathlands Project

The Heathlands Project's 2015 quilt is completed and down in Birmingham for this years Festival of Quilts! Despite my best efforts at being organised it was, as usual, a bit of a rush to get it finished in time but we did so all is well and the members are already looking forward to getting it back and hearing the judges comments.

Quilt details

Quilt details

Quilt details

I wrote before about this quilt and why, despite the stresses,  I like doing a big project like this with the group. Seeing everyone's work come together to create a coherent group piece is a really satisfying thing. One of the reasons it's always a bit of a rush to get finished is that I like to give the guys as long as possible to work on their individual patches. This of course means that there's less time for me to put it together but I love seeing all the different patches and how each individuals character shines through.

Laying out the patches

I wanted to create this year's quilt in a slightly different way to previous years. So, once I'd collected all the patches I laid them out on a base cloth, filling any gaps with sunshine coloured fabrics. I wanted to keep the edges if the fabric raw to add a bit more texture.

Quilt sandwich

Quilting on the sewing machine

One of the members of the textile group was really keen to help with the construction so along with one of the members of staff he made a 'quilt sandwich' of the layer with the patches, the wadding in the middle and a plain back cloth. They then worked together on the sewing machine to quilt these layers in place, fixing the patches as they went.

Adding the binding

Once all the quilting was done it was time to finish the edges. I wanted to have a go at binding the edges this year, previously we have worked on more of a bag like construction with the quilting being the final step. One of the comments we've had from some of the judges in the past is that we could do with a bit more quilting, which is why we took the approach mentioned above.

The binding and back of the quilt

By this point we were very short on time so I took the quilt home to finish off, doing the last bits of quilting, the binding and adding a hanging sleeve before parcelling it all up and sending it down to The Festival of Quilts. It was interesting doing the binding. I quite like the look and it's different to how we've normally done it. As usual I am not totally happy with the finished piece as it is not as nicely finished as I would like but I find generally when it comes back I can appreciate the good things about it more!

Monday, 27 July 2015

Beautiful Blues: Indigo Dyeing

Indigo dyed fibres

Indigo dyed fibres

On a not totally horrible Sunday I decided to have a go at indigo dyeing. I've always been interested in natural dyeing and over the past years have collected a number of recipes and possibly one or two supplies! I have played around a little bit with natural dyeing and I really like the unpredictable nature of it. The idea of being able to create colour from something I've grown also appeals and as we are in the process of doing up the garden this will hopefully soon become a reality.

Stitch-resist

Fibres and materials

Fibres 

Wetting the fibres before dyeing

I set aside the whole day which turned out to be a good move, although it's not difficult it is helpful to have time to work through the different stages of the process. I like dyeing as it's a mixture of science and art. It involves basic chemistry and the results are always exciting to me. I have a fairly loose approach to following the 'rules' for dyeing. I prefer to follow the basic guidelines and embrace the quirks that emerge from making errors.

Mixing the indigo dye

Indigo solution

That said, I was a little more careful with the indigo dyeing as it is important not to introduce oxygen into the dye-bath as this is what 'fixes' the dye, which I obviously don't want to happen until the dye is attached to the fibres I'm dyeing. I'd prepared a range of fibres including wool, silk, cotton and linen so I could see how each fibre reacted. I'd also prepared a couple of bits of fabric with a stitches resist to see what effects that would yield.

Hi tech insulated dye-bath

Making sure the temperature was right

Keeping the temperature right

Having mixed up the dye-bath and prepared all my fibres I got to the exciting bit, dyeing! It really was exciting lifting the fibres out of the yellowy green murk of the dye-bath and watching as they turned from bright acid green to beautiful blue indigo in a matter of moments. As the dye oxidises and fixes in the air amazing marbled patterns are created on the fabric as the air hits different parts of the fabric at different times. I didn't have either of my cameras with me (one I'd left at the prism studio and Mr. Stitches was borrowing the other one on a trip out) so I was only able to capture a few shots on my 'phone's fairly rubbish camera. However, it gives an idea of what happens (and gives me an excuse to do it all again!)

The dye-bath, when ready, goes a yellowy green colour

Fibres in the dye-bath

Fibres ready for dyeing

Indigo dyeing is a little different to most other dye processes. For one thing no mordants are required as the dye is fixed by being exposed to the air. Usually when dyeing to obtain darker or more intense shades you leave the fibres in the dye-bath for a longer period of time but in indigo dyeing darker shades are achieved by repeating the dipping process. So, for a darker indigo you just dye it more times. The fibres spend about 2 minutes in the dye-bath each dip. I had fun experimenting with dipping the fabrics repeatedly to achieve a range of shades from palest blue to much darker hues.

Amazing colours as the fibres come out the dye-bath

Amazing colours as the fibres come out the dye-bath

Amazing colours as the fibres come out the dye-bath

Amazing colours as the fibres come out the dye-bath

One of my favourite parts of the process was hanging all my dyed fibres on a line and watching them flap about in the wind. The different shades of blue against the green of the hedge and the grey of the sky looked so beautiful, almost an artwork in themselves. I'm really pleased with my dyes fibres and am looking forward to using them in my work. I'm also looking forward to some more experiments in natural dyeing...


Flying in the wind

Fibres on the line

Fibres on the line

Fibres on the line
Cotton, stitched cotton and wool

Silks, dipped multiple times to create different shades

Silk and linen