Pages

Showing posts with label button. Show all posts

Wednesday, 8 July 2015

Tutorial: Dorset Wheel Buttons

Dorset wheel buttons made with hand dyed thread

I taught myself how to make these wheel buttons from a book years ago. They're pretty simple once you've got the hang of them but they're really quite beautiful and by playing around with threads and colours you can change the look quite a bit. They can be used as buttons, embellishments or just make them for fun. Several people have asked for a how to so here it is!

Supplies

Firstly, assemble your supplies:

Rings-curtain rings or the rings sold for crocheting around work well. More or less any kind of ring will do so see what you have lying around and experiment, you could use bangles for really big buttons!

Thread-I like cotton perle thread but any solid embroidery thread (i.e. not stranded, you can use this but it's quite annoying to work with) or yarn will work. Think about the size of your ring and match your thread accordingly (for a large ring you might want a thicker thread and for a small ring you probably want a finer thread.) Variegated and hand dyed threads are fun to experiment with.

Needle-blunt tapestry needles are good. Again, choose a size appropriate for your thread and ring.

Tea-not essential but I find it helpful.

Start with a long thread

To start off with you need a long length of thread, about 2 metres for a small curtain ring. This is the only time I advocate a long thread! Tie your thread onto your ring and then work around your ring with blanket stitch. This should have used up a good portion of your thread but you should have quite a bit left.

Tie the thread to the ring

Work buttonhole/blanket stitch around the ring, over the loose end as well

Keep your stitches close together

When you can't fit any more stitches on, you're done!

Traditionally, the 'bumps' are pushed to the inside but this is something you can play around with. I quite like them on the outside.

'Bumps' pushed to the inside

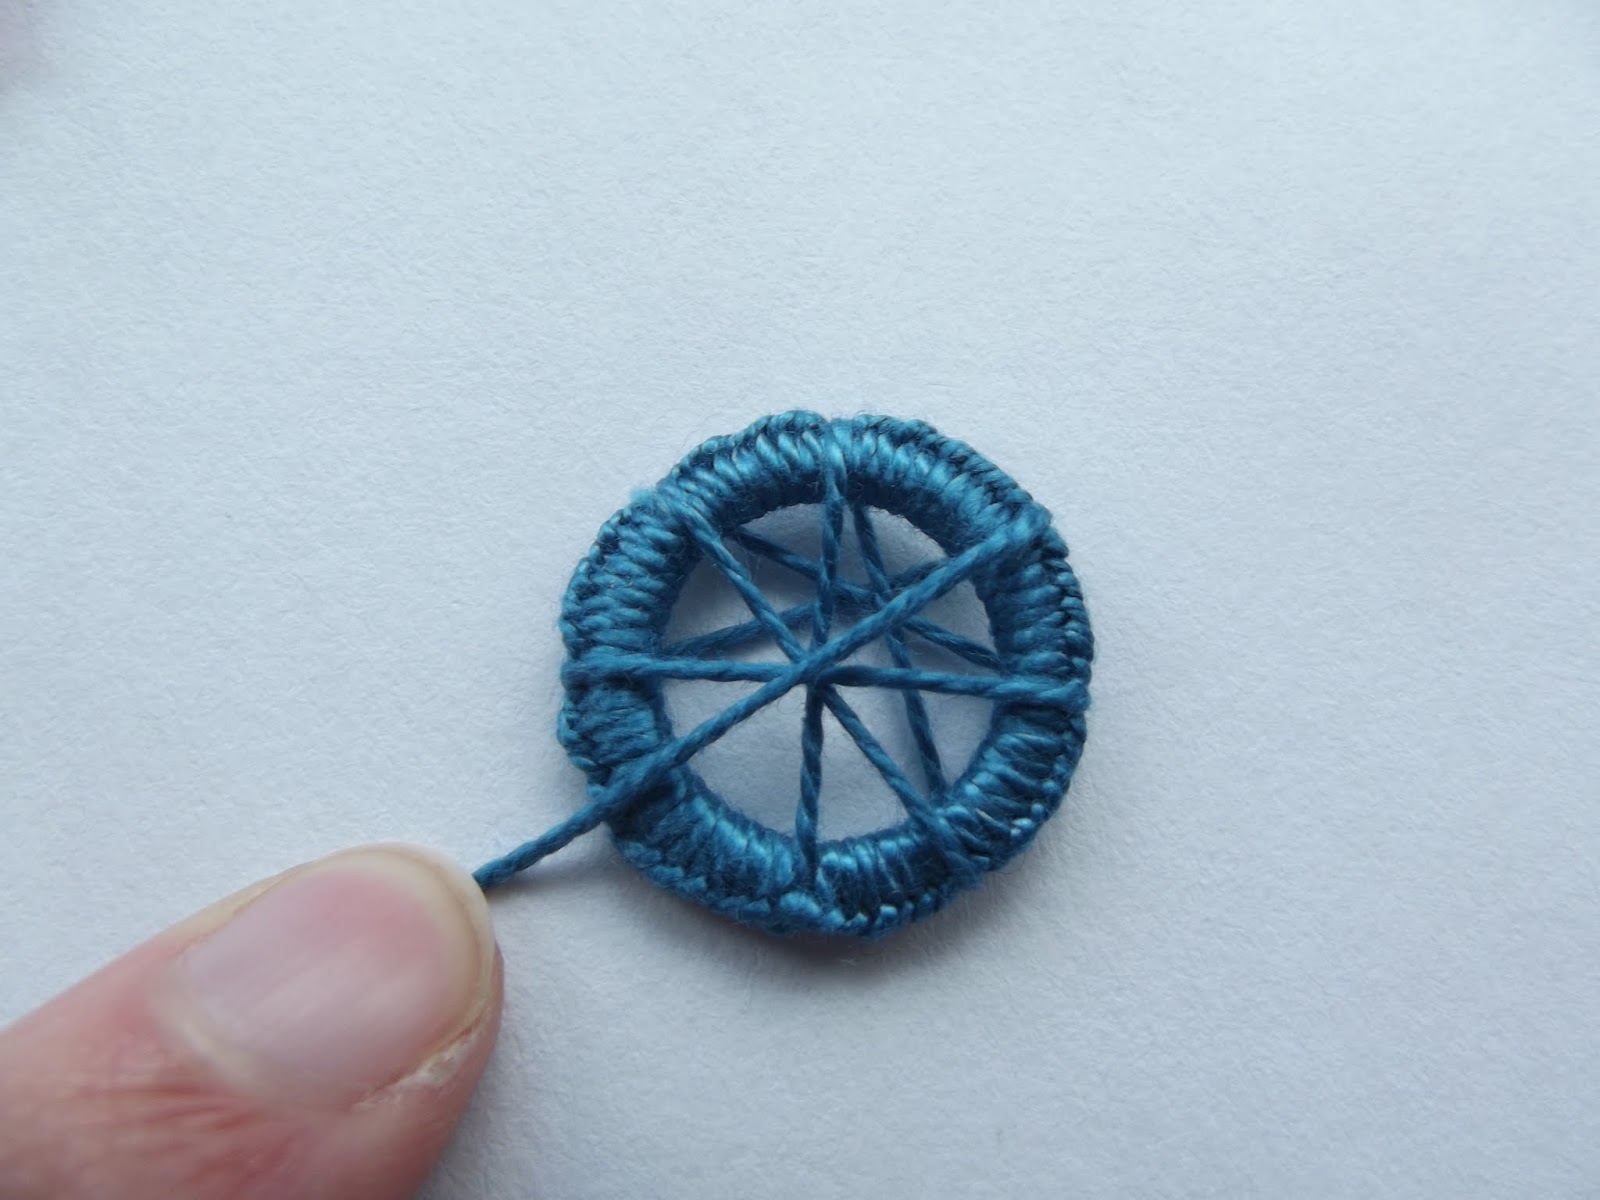
This is the bit that at first seems a bit complicated but once you get the idea it makes sense! We're going to create the spokes of the wheel. Start with the thread at the south end of the ring then take it to the north then go from the south east to the north west, then east to west and finally north east to south west. Fix the spokes in the centre with a little cross stitch.

South to North

South East to North West

East to West and North East to South West

Cross stitch to hold spokes in place

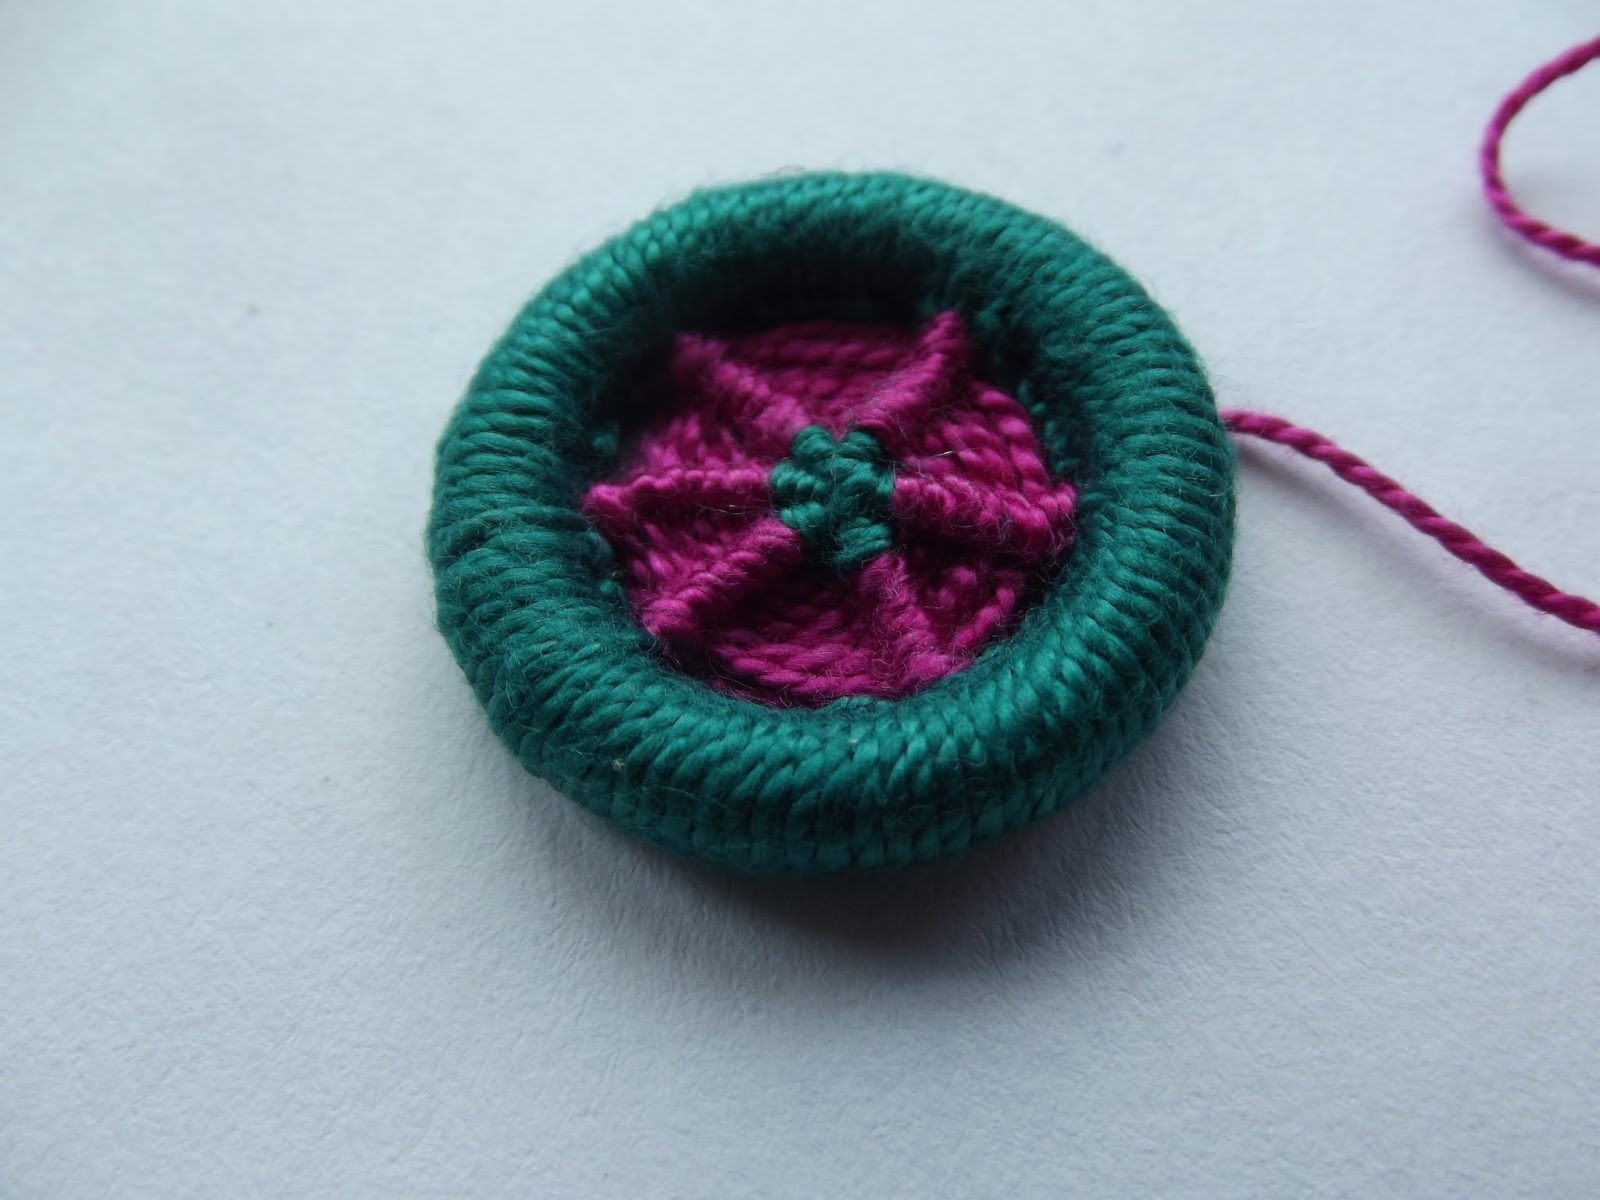
[Please excuse the change of sample in the pictures, I wasn't really paying attention to what I was doing so the pink and green wheel only has 6 spokes instead of 8. Oops.]

Working from the back, backstitch over each spoke in turn

Working around in a clockwise direction

You can see the stitches build up

Change colour as you need/want to

View from the front

You should now have 8 spokes. Working clockwise, backstitch over each spoke in turn. I find it easier to work from the back (have a quick scan at the pictures before you start, it should hopefully make things a bit clearer.) Keep working round and round until the spokes are full.

More pictures to help show the backstitch bit...

More pictures to help show the backstitch bit...

If you need or want to change thread, take your yarn through the back of the work and tie a small knot. When starting a new thread make sure you carry on from where you left off.

When you're done, take the remaining thread through the back to the centre

Finished Dorset Wheel Button

When your wheel is full, run the thread through the back of the work to the centre and secure it. I like to leave a longish tail so I can use it to attach it to whatever I want to attach it to.

Another example

As I mentioned at the start, you can play around with these in a number of ways. Here are a few suggestions:

  • Make stripes with different colours
  • Experiment with different textured yarns and threads
  • Experiment with the buttonhole bumps on the inside and the outside
  • Try different sized rings and try flat rings as well as more rounded ones
  • Try only partially filling the spokes
I hope this tutorial is helpful, I'd love to see your creations and also if anything is unclear please let me know and I will try and clarify. Happy stitching!

Variegated wool: Embroidery Sampler


Wednesday, 4 February 2015

The Book of Crow

The Story of Crow

This piece of work started life sometime last year as a sample piece for some workshops I'd been asked to run in connection with the upcoming Anselm Kiefer exhibition at Tullie House. The idea of the workshops is to look at different ways of preparing and reclaiming paper to make mixed media books. I was inspired by Kiefer's use of diverse and sometimes unconventional materials and by the variety of different books he has created throughout his career.

Page One

Page Two

Page Three

As I began working on the sample it sort of grew and became a bit more than I anticipated until it eventually evolved into a piece of work in it's own right. It's been a slow burner, I think I started it back in November and it's only this week that I've finally finished it. It's one of those pieces that I keep doing a bit on and then abandoning before coming back to, doing a bit more and then abandoning it again.

Page Four

Page Five

Page Six


Collage of the pages

The book tells the story of crow; in certain mythologies crow starts off as a pure, white bird . As with most stories there are many different versions of what happens next and, in true storytelling tradition, I've picked the bits that I like best from a range of stories to make my own version of the story. My version is partly based on a Greek myth, in which crow is the favoured companion of one of the gods. When crow reveals that the god's lover is cheating on him he is so enraged that he turns crow black and banishes him. I was interested in this idea that telling the truth isn't always the best policy and the idea of the insider becoming the outsider.

Front Cover

Back Cover

Collage of Reverse Side

The book is a simple concertina construction, with a hard cover at each end and a ribbon and button fastening. The pages of the book are mostly black and white photocopies that I worked into in different ways. I've used paint, ink, collage, printing, drawing and stitching. Following the story, the book is white to start with and gets darker and darker until the last page, which is black. I like the visual re-enforcement of the story and continued this theme on the other side of the book by using white fabric that I dip-dyed with black dye. This didn't go quite as smoothly as I hoped but I think the patchy, uneven colour actually works well with the rest of the book.

Drawing Detail

Collage Detail

Print Detail

Stitch Detail

To join the paper pages I used insertion stitches, the patching together echoes the way the story is patched together as well as adding a different texture. I wanted the book to look inviting and to provide a tactile as well as visual experience so I made two sheets of felt, one white and one black, for the book covers. It took me a long time to decide on the fastening; I played around with various ideas including felted cords, ties, loops and buttons before settling for a simple ribbon loop and handmade button fastening.

Button Detail


Sunday, 20 January 2013

Hearts and Roses

Brooch detail

It's been another busy week; I've been painting backdrops and plywood ovens with the guys at Heathlands as well as making pieces of steak out of fabric and sewing up a severed princesses arm (fabric again, don't worry.) All in the name of theatre, but more of that in a later post. I have also been working at James Rennie School this week where I have been tie dyeing with KS4. I really enjoyed my day with them, they were eager to learn and really got stuck in. And I once again ended up with blue hands, it's becoming a recurring theme. I will be working with them again in a couple of weeks when we will be using our tie-dyed fabric to make the sea!

Crochet brooch with fabric rose

Today, as a bit of a diversion from the madness of the week, I have been making some pretty crochet brooches for my Folksy shop. I've been playing around making some crochet hearts and I've been combining them with crochet flowers and buttons to make these pretty brooches. I was aiming for a romantic, vintage feel but with a modern twist, hence the colours. I'm really pleased with how they've turned out.

Crochet brooch with rose button

Small crochet brooch with rose button

Thursday, 3 January 2013

No resolutions, just some crochet

Crochet Collar

Rather than bore everyone with a post about new beginnings, resolutions and so on I've decided my first post of 2013 shall bore you with pretty crochet instead. At least there are nice photos.

Back view

Front detail

Over the holidays I like to make more frivolous things, especially for myself. So, this holiday I've made myself a pretty crochet collar and a dress (potentially to be worn together.) Before Christmas I tend to spend a lot of time making stuff for other people which is great and I enjoy it but afterwards I like to be a little bit selfish!

Indigo dress

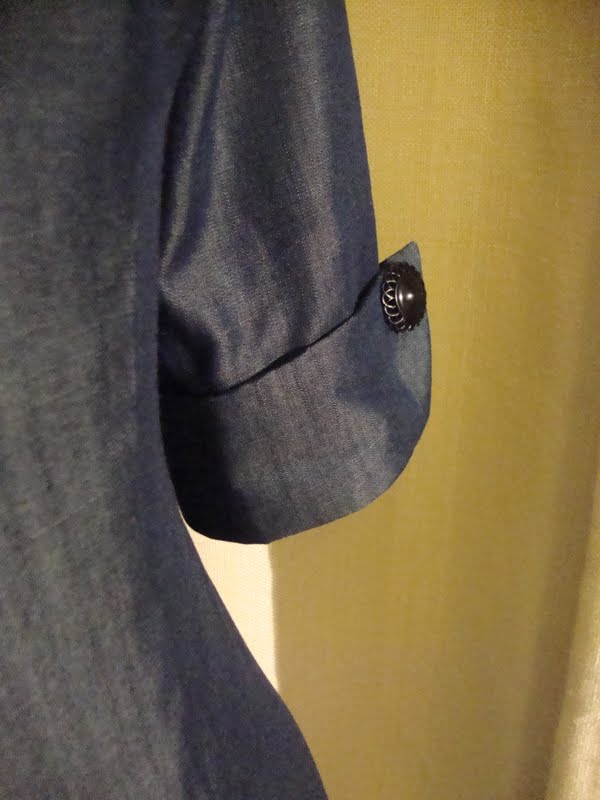
Dress sleeve detail

I really enjoyed making this collar. I got the pattern from Ravelry and it's simple and easy to follow and I'm really pleased with the results. I used a 4 ply cotton yarn in a plum purple colour and a 4mm hook. The dress was from a New Look pattern and was an interesting make as there were lots of darts and shaping bits involved. I used a denim type fabric in a dark indigo and as a consequence my hands looked like smurf hands afterwards!

Cool shadows

Pattern detail

More cool shadows

Crochet hearts

I've also been playing around with making some crochet hearts, ready for Valentines day maybe?

Happy New Year everyone!