Pages

Showing posts with label free. Show all posts

Wednesday, 8 July 2015

Tutorial: Dorset Wheel Buttons

Dorset wheel buttons made with hand dyed thread

I taught myself how to make these wheel buttons from a book years ago. They're pretty simple once you've got the hang of them but they're really quite beautiful and by playing around with threads and colours you can change the look quite a bit. They can be used as buttons, embellishments or just make them for fun. Several people have asked for a how to so here it is!

Supplies

Firstly, assemble your supplies:

Rings-curtain rings or the rings sold for crocheting around work well. More or less any kind of ring will do so see what you have lying around and experiment, you could use bangles for really big buttons!

Thread-I like cotton perle thread but any solid embroidery thread (i.e. not stranded, you can use this but it's quite annoying to work with) or yarn will work. Think about the size of your ring and match your thread accordingly (for a large ring you might want a thicker thread and for a small ring you probably want a finer thread.) Variegated and hand dyed threads are fun to experiment with.

Needle-blunt tapestry needles are good. Again, choose a size appropriate for your thread and ring.

Tea-not essential but I find it helpful.

Start with a long thread

To start off with you need a long length of thread, about 2 metres for a small curtain ring. This is the only time I advocate a long thread! Tie your thread onto your ring and then work around your ring with blanket stitch. This should have used up a good portion of your thread but you should have quite a bit left.

Tie the thread to the ring

Work buttonhole/blanket stitch around the ring, over the loose end as well

Keep your stitches close together

When you can't fit any more stitches on, you're done!

Traditionally, the 'bumps' are pushed to the inside but this is something you can play around with. I quite like them on the outside.

'Bumps' pushed to the inside

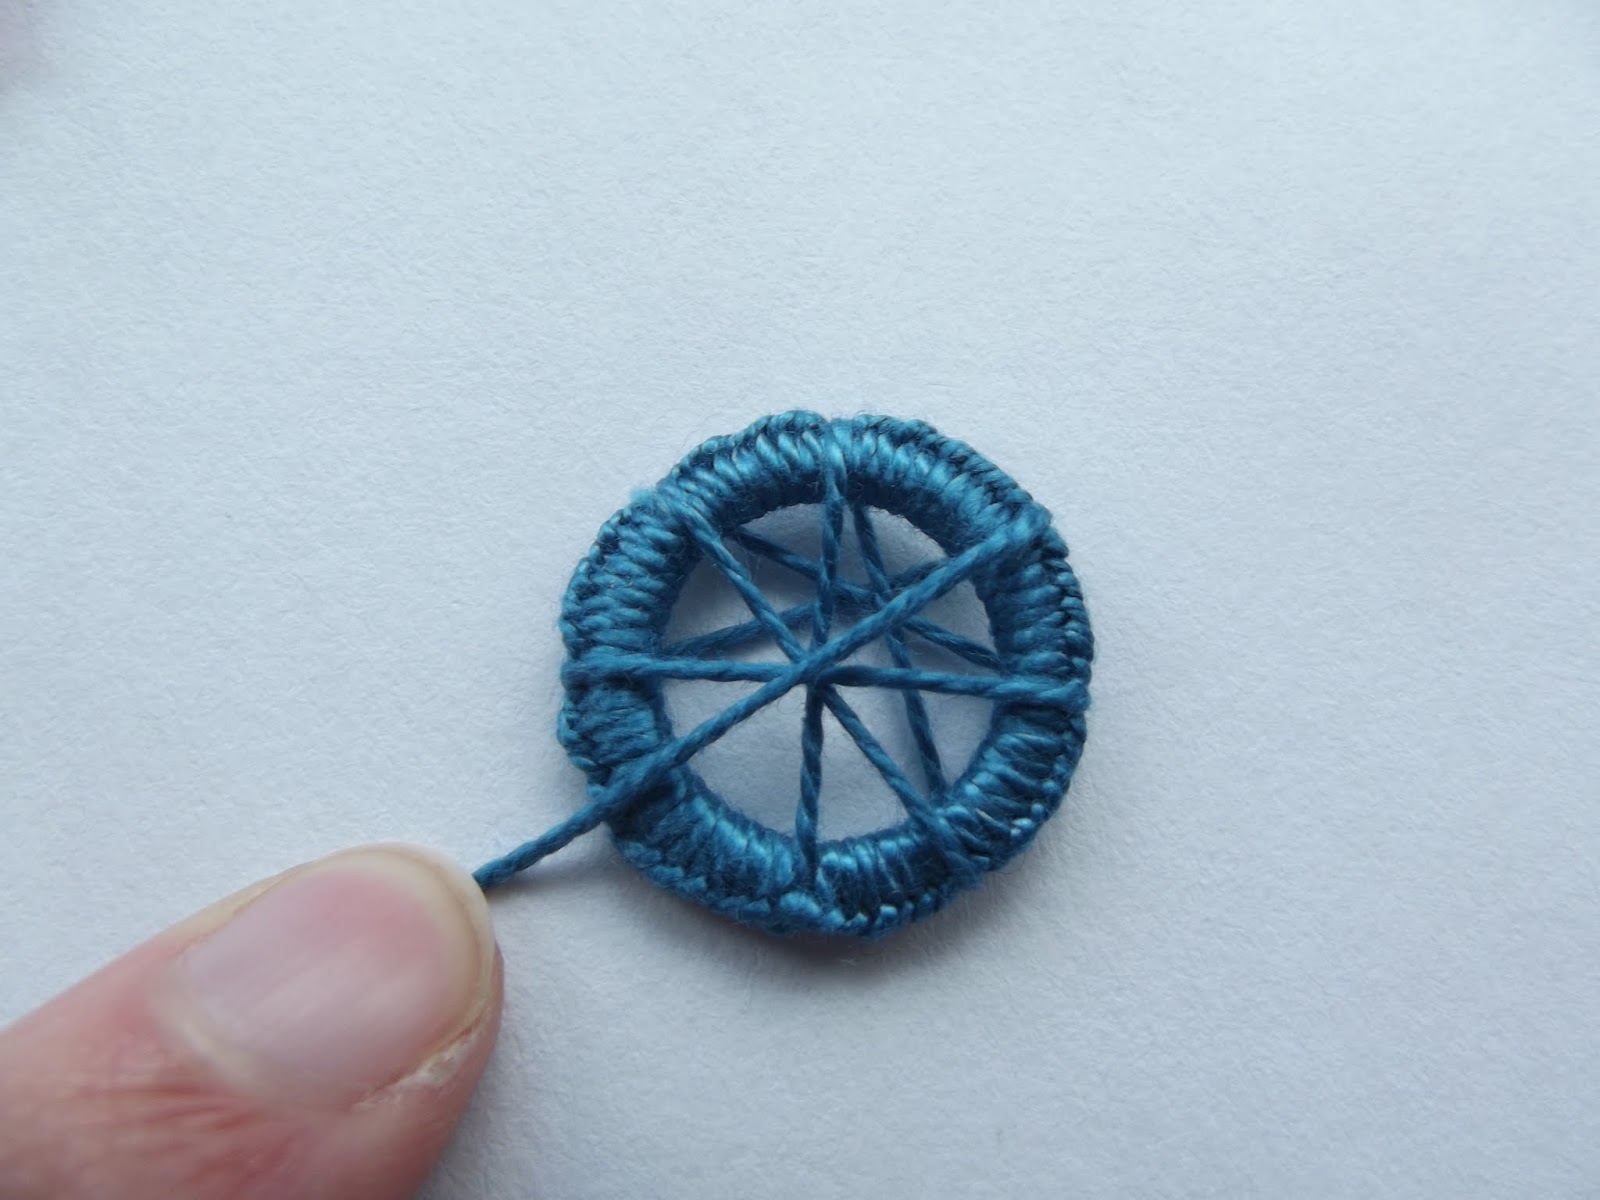
This is the bit that at first seems a bit complicated but once you get the idea it makes sense! We're going to create the spokes of the wheel. Start with the thread at the south end of the ring then take it to the north then go from the south east to the north west, then east to west and finally north east to south west. Fix the spokes in the centre with a little cross stitch.

South to North

South East to North West

East to West and North East to South West

Cross stitch to hold spokes in place

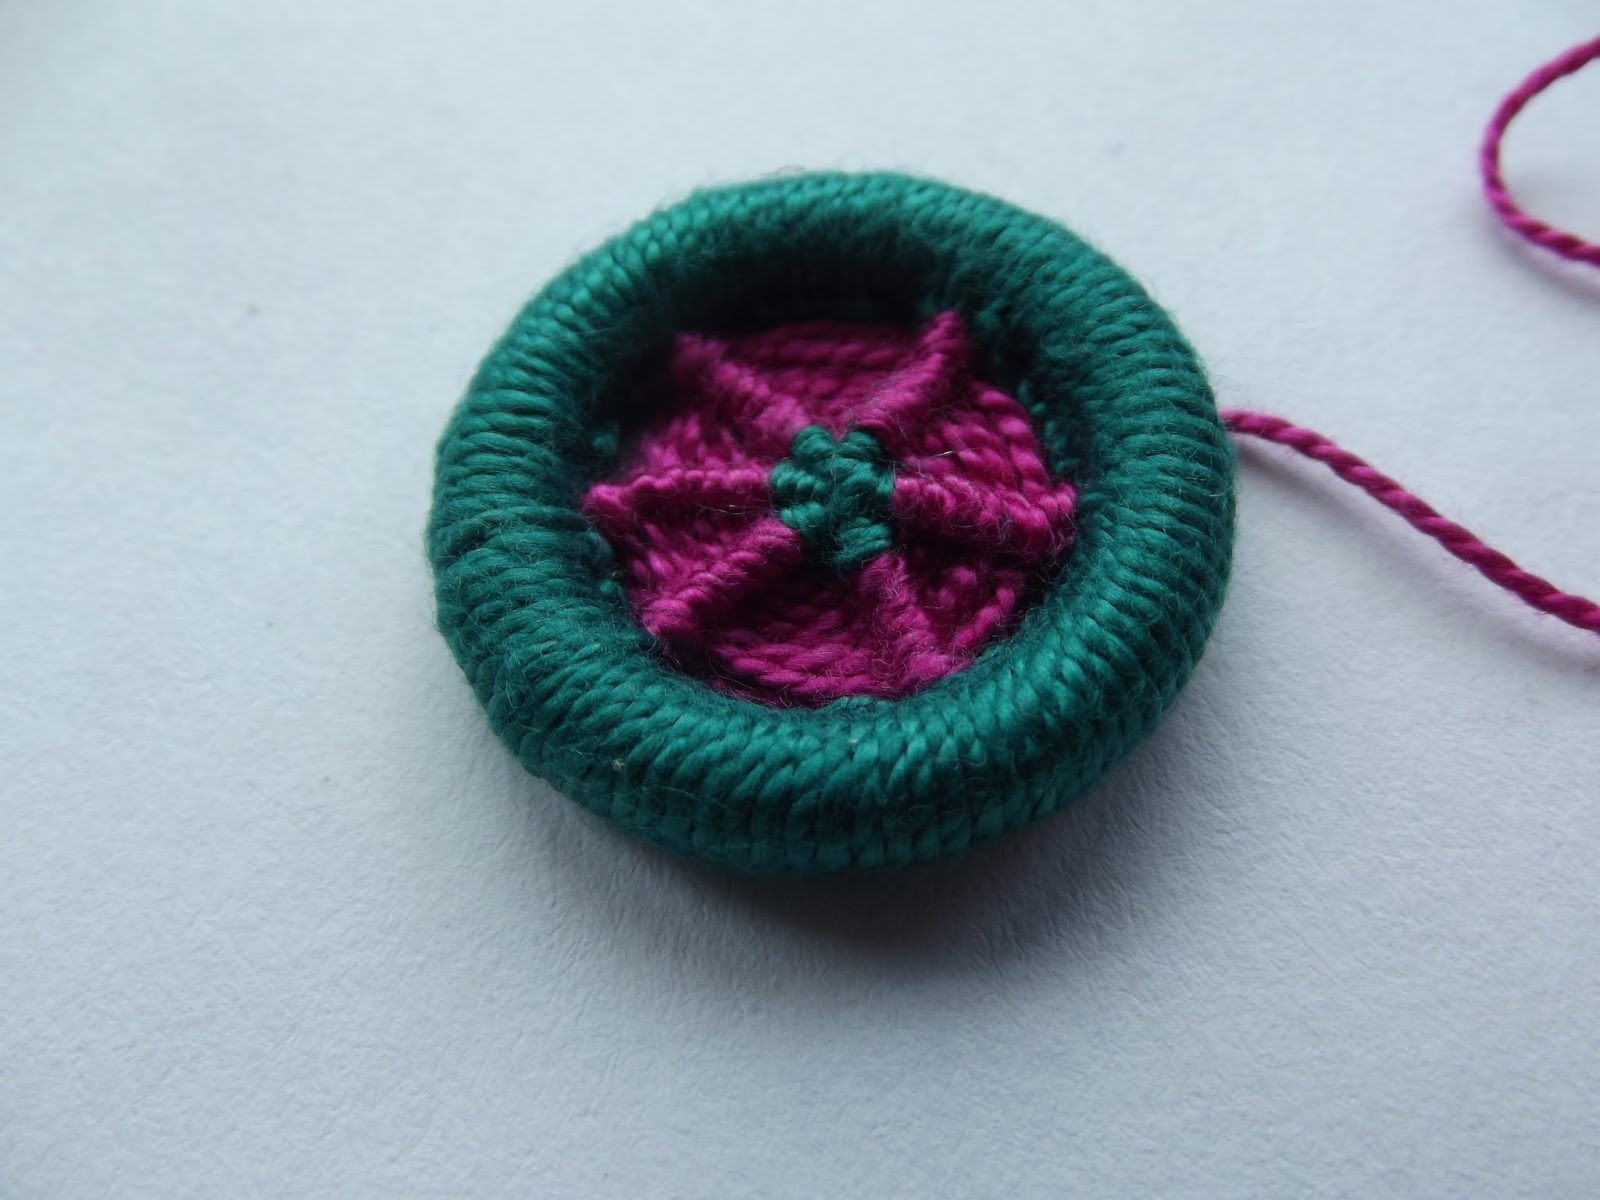
[Please excuse the change of sample in the pictures, I wasn't really paying attention to what I was doing so the pink and green wheel only has 6 spokes instead of 8. Oops.]

Working from the back, backstitch over each spoke in turn

Working around in a clockwise direction

You can see the stitches build up

Change colour as you need/want to

View from the front

You should now have 8 spokes. Working clockwise, backstitch over each spoke in turn. I find it easier to work from the back (have a quick scan at the pictures before you start, it should hopefully make things a bit clearer.) Keep working round and round until the spokes are full.

More pictures to help show the backstitch bit...

More pictures to help show the backstitch bit...

If you need or want to change thread, take your yarn through the back of the work and tie a small knot. When starting a new thread make sure you carry on from where you left off.

When you're done, take the remaining thread through the back to the centre

Finished Dorset Wheel Button

When your wheel is full, run the thread through the back of the work to the centre and secure it. I like to leave a longish tail so I can use it to attach it to whatever I want to attach it to.

Another example

As I mentioned at the start, you can play around with these in a number of ways. Here are a few suggestions:

  • Make stripes with different colours
  • Experiment with different textured yarns and threads
  • Experiment with the buttonhole bumps on the inside and the outside
  • Try different sized rings and try flat rings as well as more rounded ones
  • Try only partially filling the spokes
I hope this tutorial is helpful, I'd love to see your creations and also if anything is unclear please let me know and I will try and clarify. Happy stitching!

Variegated wool: Embroidery Sampler


Friday, 27 June 2014

Cosy Shells Fingerless Gloves-Free Pattern!

Tea and crochet

The finished gloves

Whilst flicking through one of my old knitting magazines I saw a pair of beautiful crochet fingerless gloves in a shell pattern. The picture was part of an advert for a wool shop but I really liked them and decided I needed to make them (rather than finish my hundreds of other projects.) From looking at the picture I knew I could figure it out myself but I was being lazy and wanted someone else to have done the thinking for me! So, I headed off to Ravelry and google but I couldn't find a pattern I liked enough so I did end up writing my own pattern and then because I'm nice I thought I'd share it with you!


It is a very simple tube pattern with an opening for your thumb, the shell pattern has a degree of stretch allowing for the changing shape of your arm and hand and I would also advise using a yarn with a bit of stretch (such as a wool rather than cotton) to allow for the varying thickness of your arms and hands.


I began by swatching and testing out the pattern using the yarn I wanted to use; Colourspun by Rowan, a wool/mohair/polyamide mix in roughly DK weight. The colours are beautiful, grey and blue spun through with bright pink and green and it works up really nicely. I'm quite sensitive to wool but decided that as my hands are pretty tough this yarn would be okay for fingerless gloves. The gloves took just over 1 x 50g ball but if you made them a couple of rows shorter or had a yarn with a better meterage (colourspun is 135m per ball) you could probably get away with one ball.


I should at this point inform you that I have ridiculously thin wrists so if you follow the pattern exactly be prepared for very cosy gloves. However, it is easy to alter them as the pattern repeats over 6 stitches so you just need to make your starting chain a multiple of 6 and long enough to comfortably fit your wrist. Alternatively if you only need them a little bigger just use a bigger hook.

The Pattern


If you find any errors or are not sure about something please let me know and I will amend or attempt to help as best I can.

UK Terms

ch: chain
dc: double crochet
slst: slip stitch
tr: treble
shell: 5tr

Tension: 10 cm x 10 cm should give you roughly 3 shells wide by 6 shells high. Change hook to gain correct tension.

Finished measurements: Length 30 cm Circumference 19 cm

Each glove is worked in the same way, make as many as you have arms.

Using a 6mm hook chain 24 and join with slip stitch to form a ring

Round 1: Change to a 5mm hook, ch1, work 1dc into each chain and join with slst in first dc (24dc)
The first dc should be worked into the same stitch as the slst from beginning chain

Round 2: Ch3 {counts as first tr}, work 4tr in same st as slst and ch3, miss 2dc, dc in next stitch, miss 2dc, *5tr {shell} in next stitch, miss 2dc, dc in next stitch, miss 2dc* Repeat from * to * all around and then join with slst in top of ch3

Round 3: Slst to middle tr of shell, dc in this stitch, shell in next dc, *dc in middle tr of next shell, shell in next dc* Repeat from * to * all around and then join with slst in first dc

Round 4:  Ch3 {counts as first tr}, work 4tr in same st as slst and ch3, dc in middle tr of next shell, *shell in next dc, dc in middle tr of next shell* Repeat from * to * all around and then join with slst in top of ch3

Rounds 5-20: Repeat rows 3 and 4 (ending with a row 4)

Thumb hole

Round 21: Work as for round 3 except replace last shell with ch5

Round 22: Work as for round 4 working last dc into third chain of ch5

Rounds 23-25: Continue with pattern as set {repeating rounds 3 and 4}

Round 26: Ch1, dc in each stitch around, join with slst.

Weave in ends, place gloves on hands and enjoy cosy feeling.

Stitch diagram: Round 1

Stitch diagram: Round 2